Optimising Textures
Textures often take most of the build size due to specifics of the data they hold: big arrays of pixels. Luckily enough, Unity Playworks Plugin targets HTML5 platform, which provides a handful of formats available with no additional effort.
Let's start by navigating to the Assets section and the Textures tab in Plugin UI:
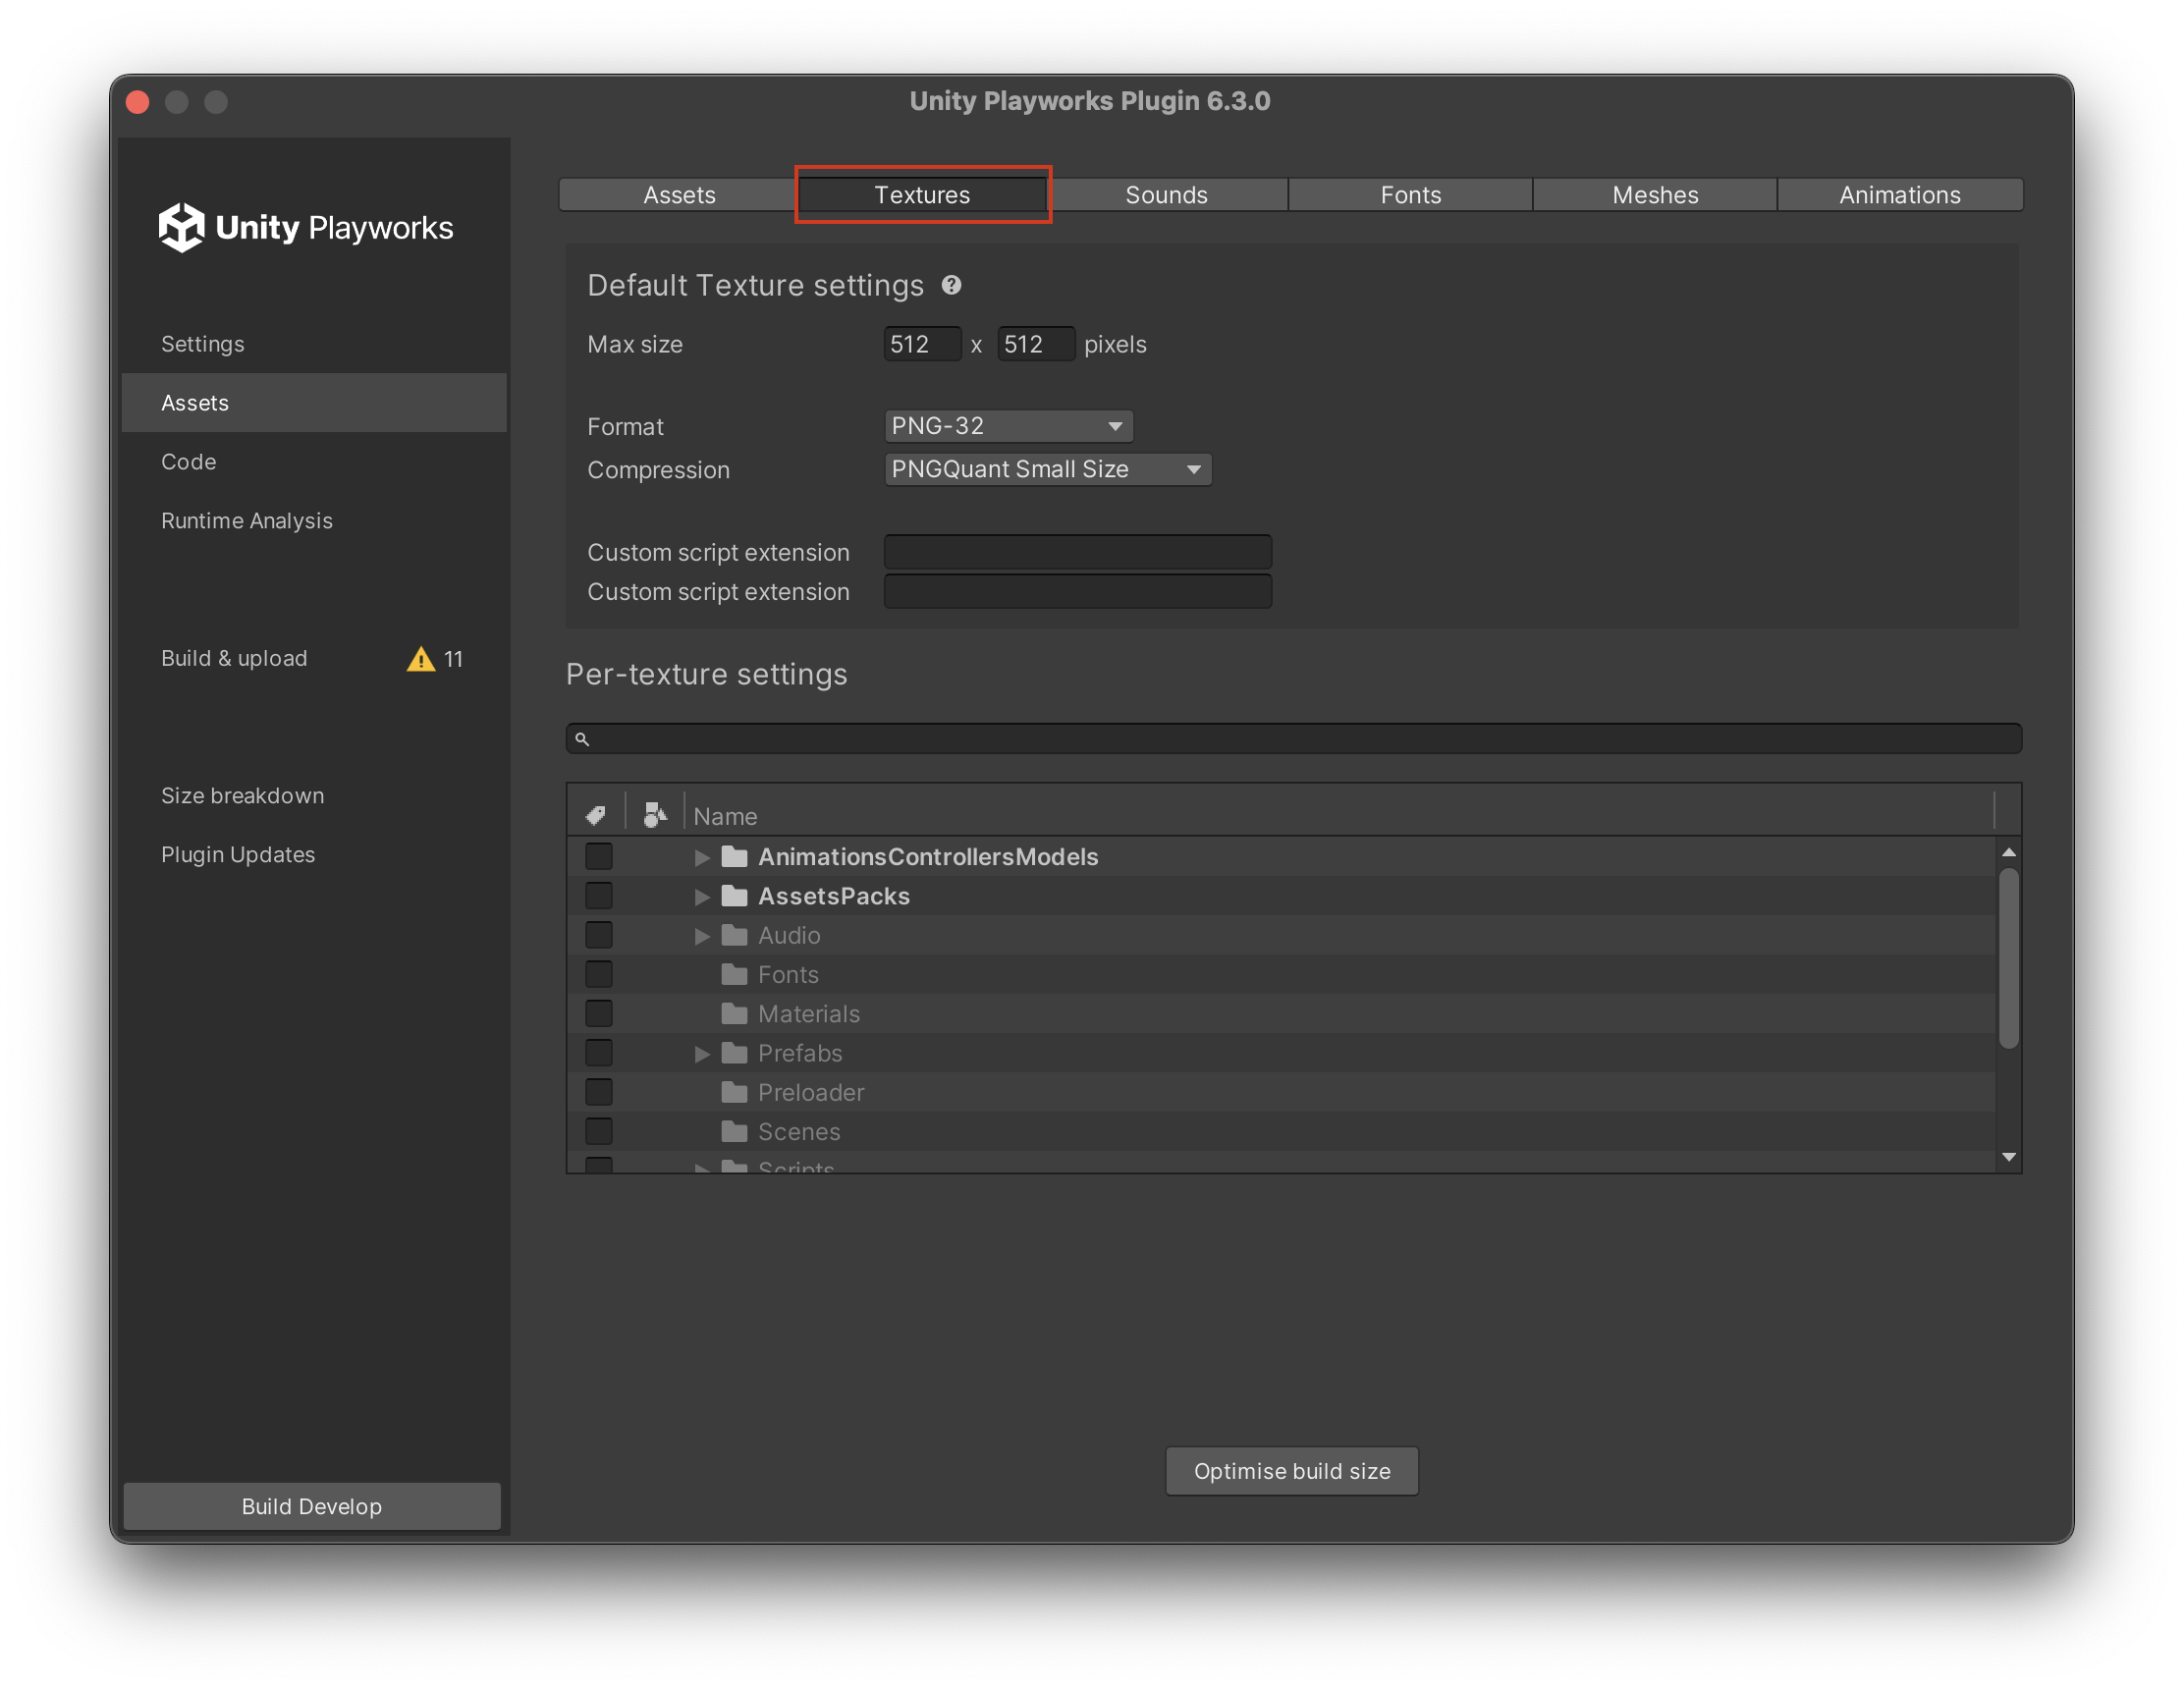
The highlighted part of the screenshot above is the section that describes parameters applied to exported textures by default. Let's break it down section by section.
Max size
This control allows to set maximum allowed size of a texture. If a texture exceeds the size in any dimension, it will be scaled down proportionally and its dimensions will be updated in metadata as well. That means that sprites, UV mappings and other elements working with a texture will remain valid, but will simply have less pixels. It's a developer's responsibility to not store pixel values for manipulating the textures (which is bad practice anyway) - the only bit that resizing can break is when someone attempts to read hard-coded region of an image (hard-coded in pixels, of course).
As a general rule, there is never any reason for a playable to have Textures or Sprites that are larger than 1024x1024.
Querying the width and height properties of the texture object will return updated values as well.
Format
This controls the format of the texture. By default, Unity Playworks Plugin uses PNG32 format, which is a lossless compression format supporting RGB and Alpha channels.
Unity Playworks Plugin re-encodes HDR textures, including HDR cubemaps, using RGBM encoding scheme. This is done to safely target all WebGL 1.0 installations avoiding the reliance upon availability of float-based texture formats usually used for storing HDR data.
To determine the most suitable format, one could follow the below set of rules:
- High-fidelity elements with alpha channel, like crisp UI elements, are best to keep in PNG32 or PNG8 formats, depending on the amount of colors used
- High-fidelity textures without alpha channel, like Normal Maps, are best to keep in PNG24 format
- Opaque textures, less sensitive to compression artifacts, are good candidates for JPEG format
Generally, JPEG format provides best compression ratios for many situations and is preferred if alpha channel is not required. This format, however, can introduce compression artifacts, which can be minimized by raising compression quality. However, some images are best compressed with PNG, especially the ones that have big continuous blocks of constant color.
Apply PNG Compression types
PNG is well-known for being able to be compressed to reduce size, whilst maintain quality images. There are instances where it can provide significant size reduction without affecting visual quality by brute-forcing compression algorithms available for PNG format and also removing optional metadata like graphics editor's tags. It can be quite slow for large images, though: processing a single PNG file can take several seconds, thus it is disabled by default in Unity Playworks Plugin.
Selecting your option will apply a PNG compression on PNG textures only.
Compression types - to choose which type of compression you need, there are some brief explanations on each type to help choose size / image quality trade offs.
PNGQuant Best quality- runs all the images through a compression algorithm that reduces size while not impacting visual quality. This helps to reduce size slightly but maintains a better quality of image.PNGQuant Smallsize- selecting this option will reduce the size of the PNG but it may also reduce image quality. Some of the visual changes may not be noticeable, but it is advisable to make sure all image quality trade offs are acceptable.PNG crush- very slightly reduces size but quality may or may not be affected. It's also possible that file size may not be altered at all.
If the size of your playable is not an issue then selecting None will not alter or change the PNG files.
If you don't require a compression of all PNG files, you also have the option to pick specific PNG files to be compressed from your project files.
This will require permission access in build process please refer to PNGQuant Access Permission.
Custom script & Custom script extension
There are instances when a developer can find their own combination of settings for pngcrush or even resort to a custom tool, like pngquat (which we highly recommend to consider for PNG files with limited colors). To provide an ability to use arbitrary custom tools, developers can specify custom script that is going to be executed by Unity Playworks Plugin against a texture. It accepts the following placeholders:
{input}is replaced with full path to original PNG file ( Unity Playworks Plugin always exports textures as PNG files in the first place){output}is replaced with the full path to the destination{temp}is replaced with a temporary path the script might use as a scratch pad
In order for Unity Playworks Plugin to properly compute the output path, developers should also supply the extension of the output file their custom script will write.
Unity Playworks Plugin will read the output texture file to identify its pixel size and update the metadata appropriately. It means that developers can do arbitrary resizing of the texture without having to worry how to account for that in the code that uses the texture. Users of this option, however, should be careful regarding preserving aspect ratio as Unity Playworks Plugin will not enforce it to stay the same.
Per-texture settings
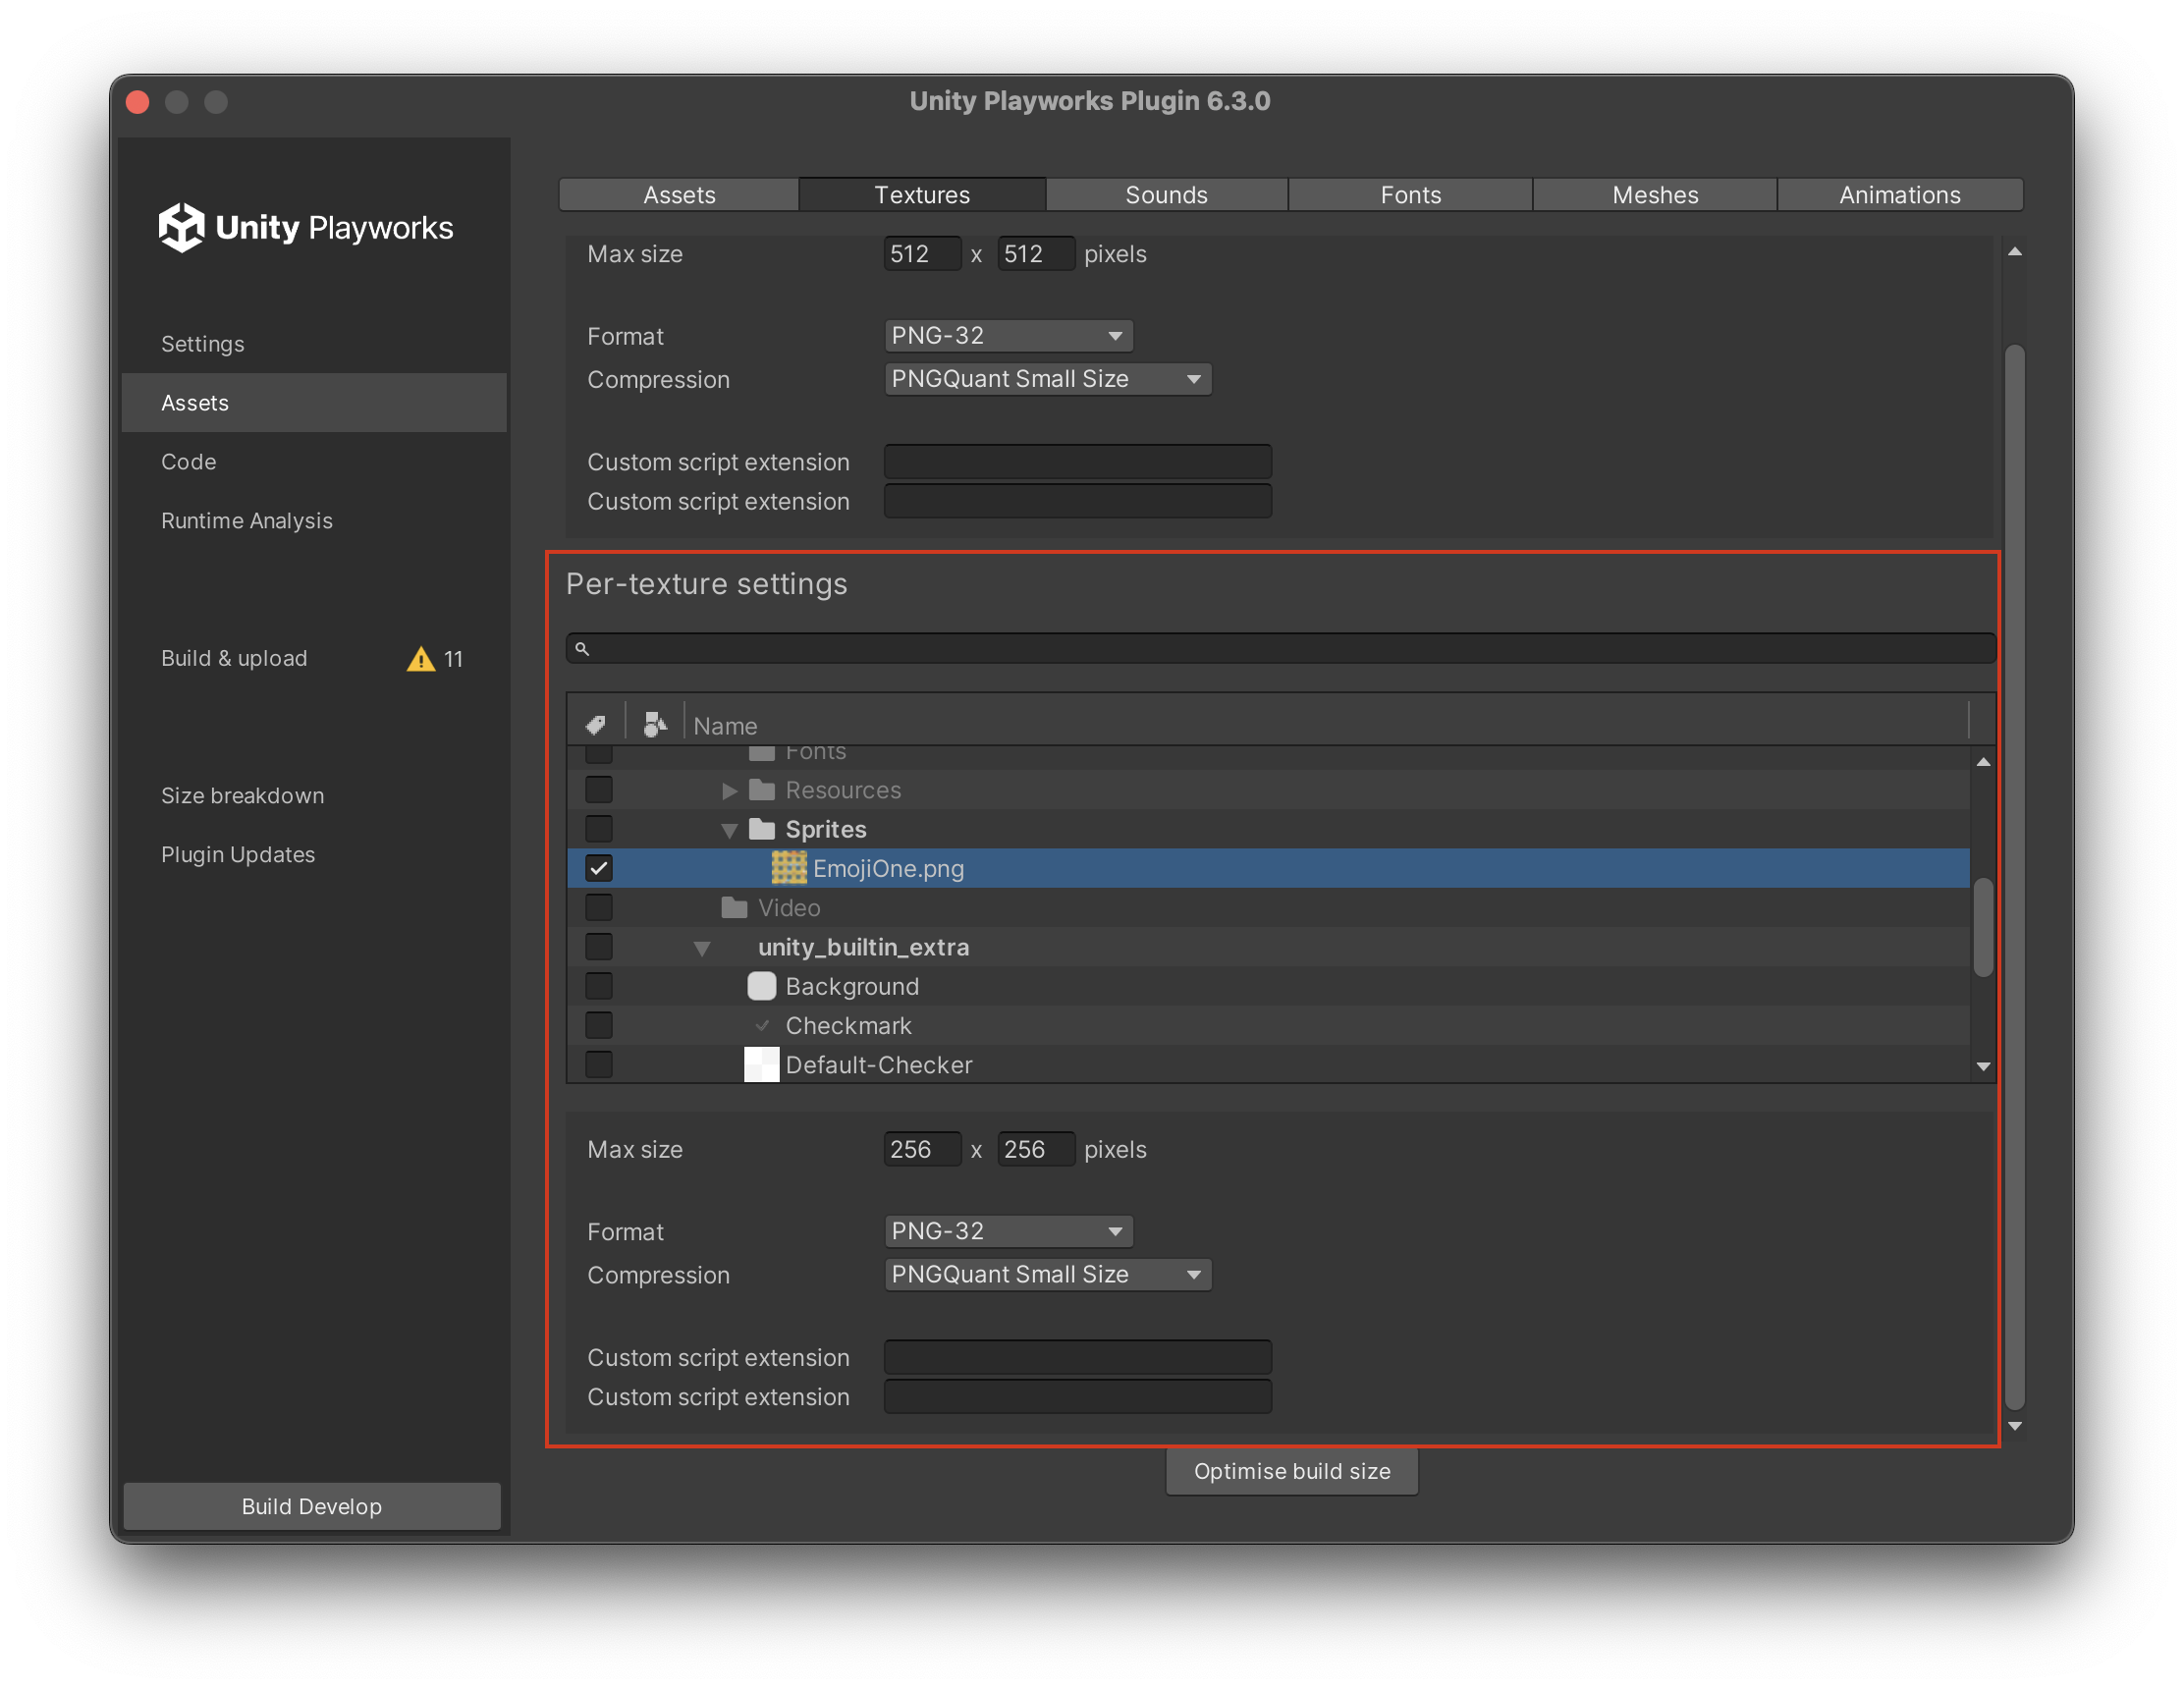
All of the above settings are also available on a per-folder and per-texture level. Developers can choose a folder of a file by ticking a checkbox in "Per-texture settings" section of the window and use the same fields to tweak parameters of a specific texture(s):
Converting Textures to RGBA 32
If you have encountered the following warning in your build log:
Change its format from DXT5 to "RGBA 32 bit" to speed up export
Simply follow the steps below to make the necessary changes.
Highlight all textures you want to convert in your project folder. In the inspector at the bottom there is a 'Format' option with a drop down field, open the drop down and select RGBA 32 bit, after doing so click apply. This will update their import settings.
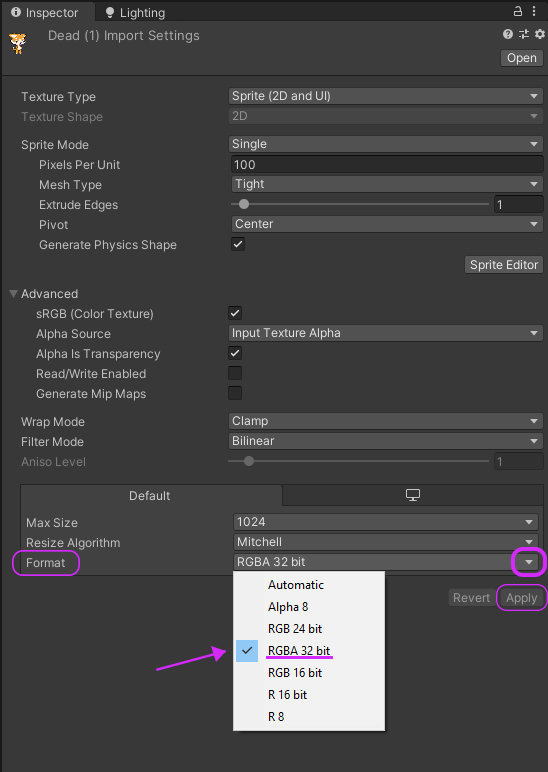
To make sure the changes are applied, right click on the highlighted textures and select reimport.

After this process is complete you are good to go!
Symmetrical Textures
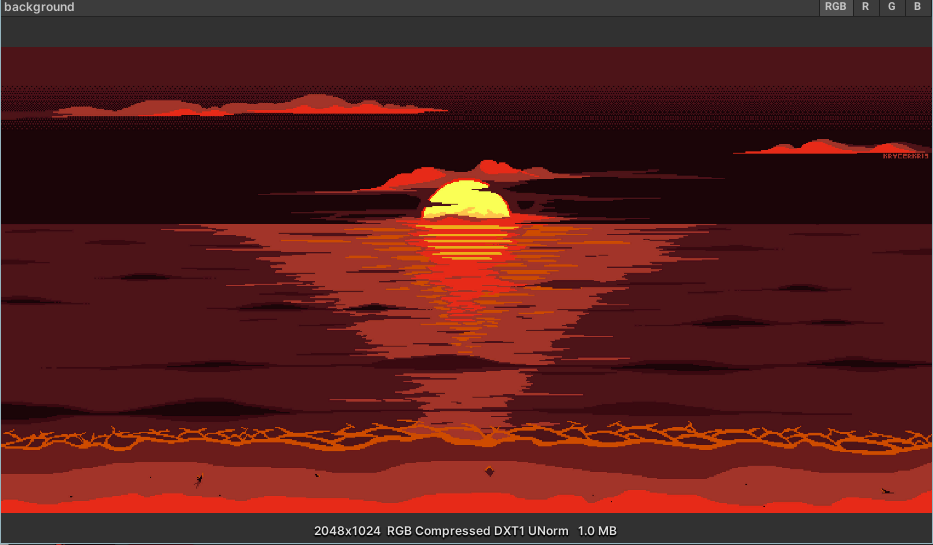
If you have any roughly symmetrical textures that would produce a similar enough result if cut in half and mirrored, you can do just that to reduce your playable's size further.
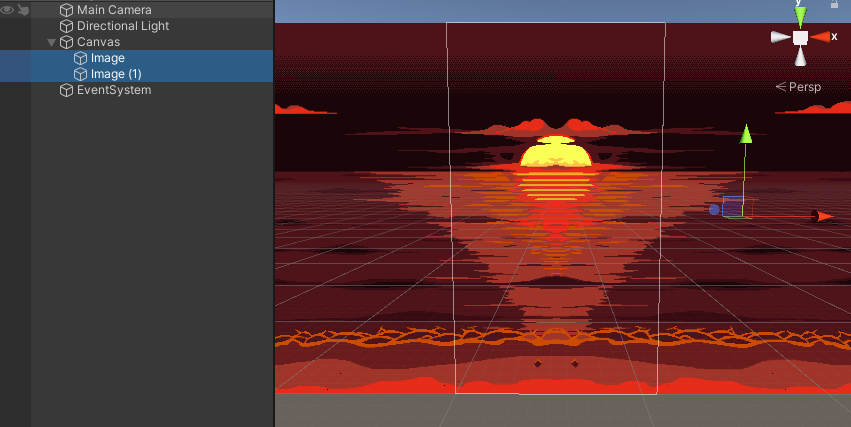
For example here we have a mostly symmetrical texture:
Split down the centre:
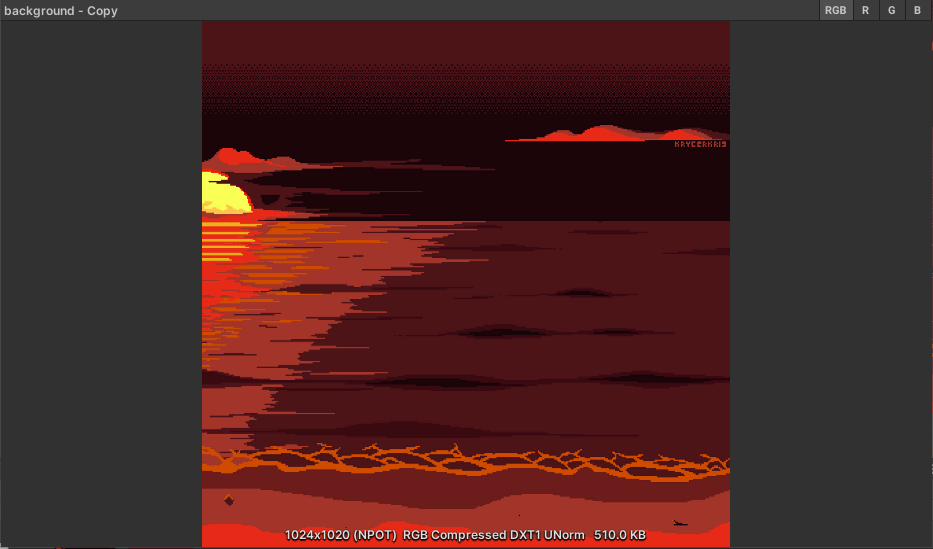
And in the scene adjust it to make it look like one image:
