Playable UI Guide
The Plugin UI in Unity contains a number of settings and useful features which you'll need to utilise when exporting your playable ads.
All of these are covered at various places within the documentation, but the following guide provides a quick snapshot of what each Section and Tab does, and why to use it.
Settings
The Settings section contains information for the configuration of your exported scene and playable ad.
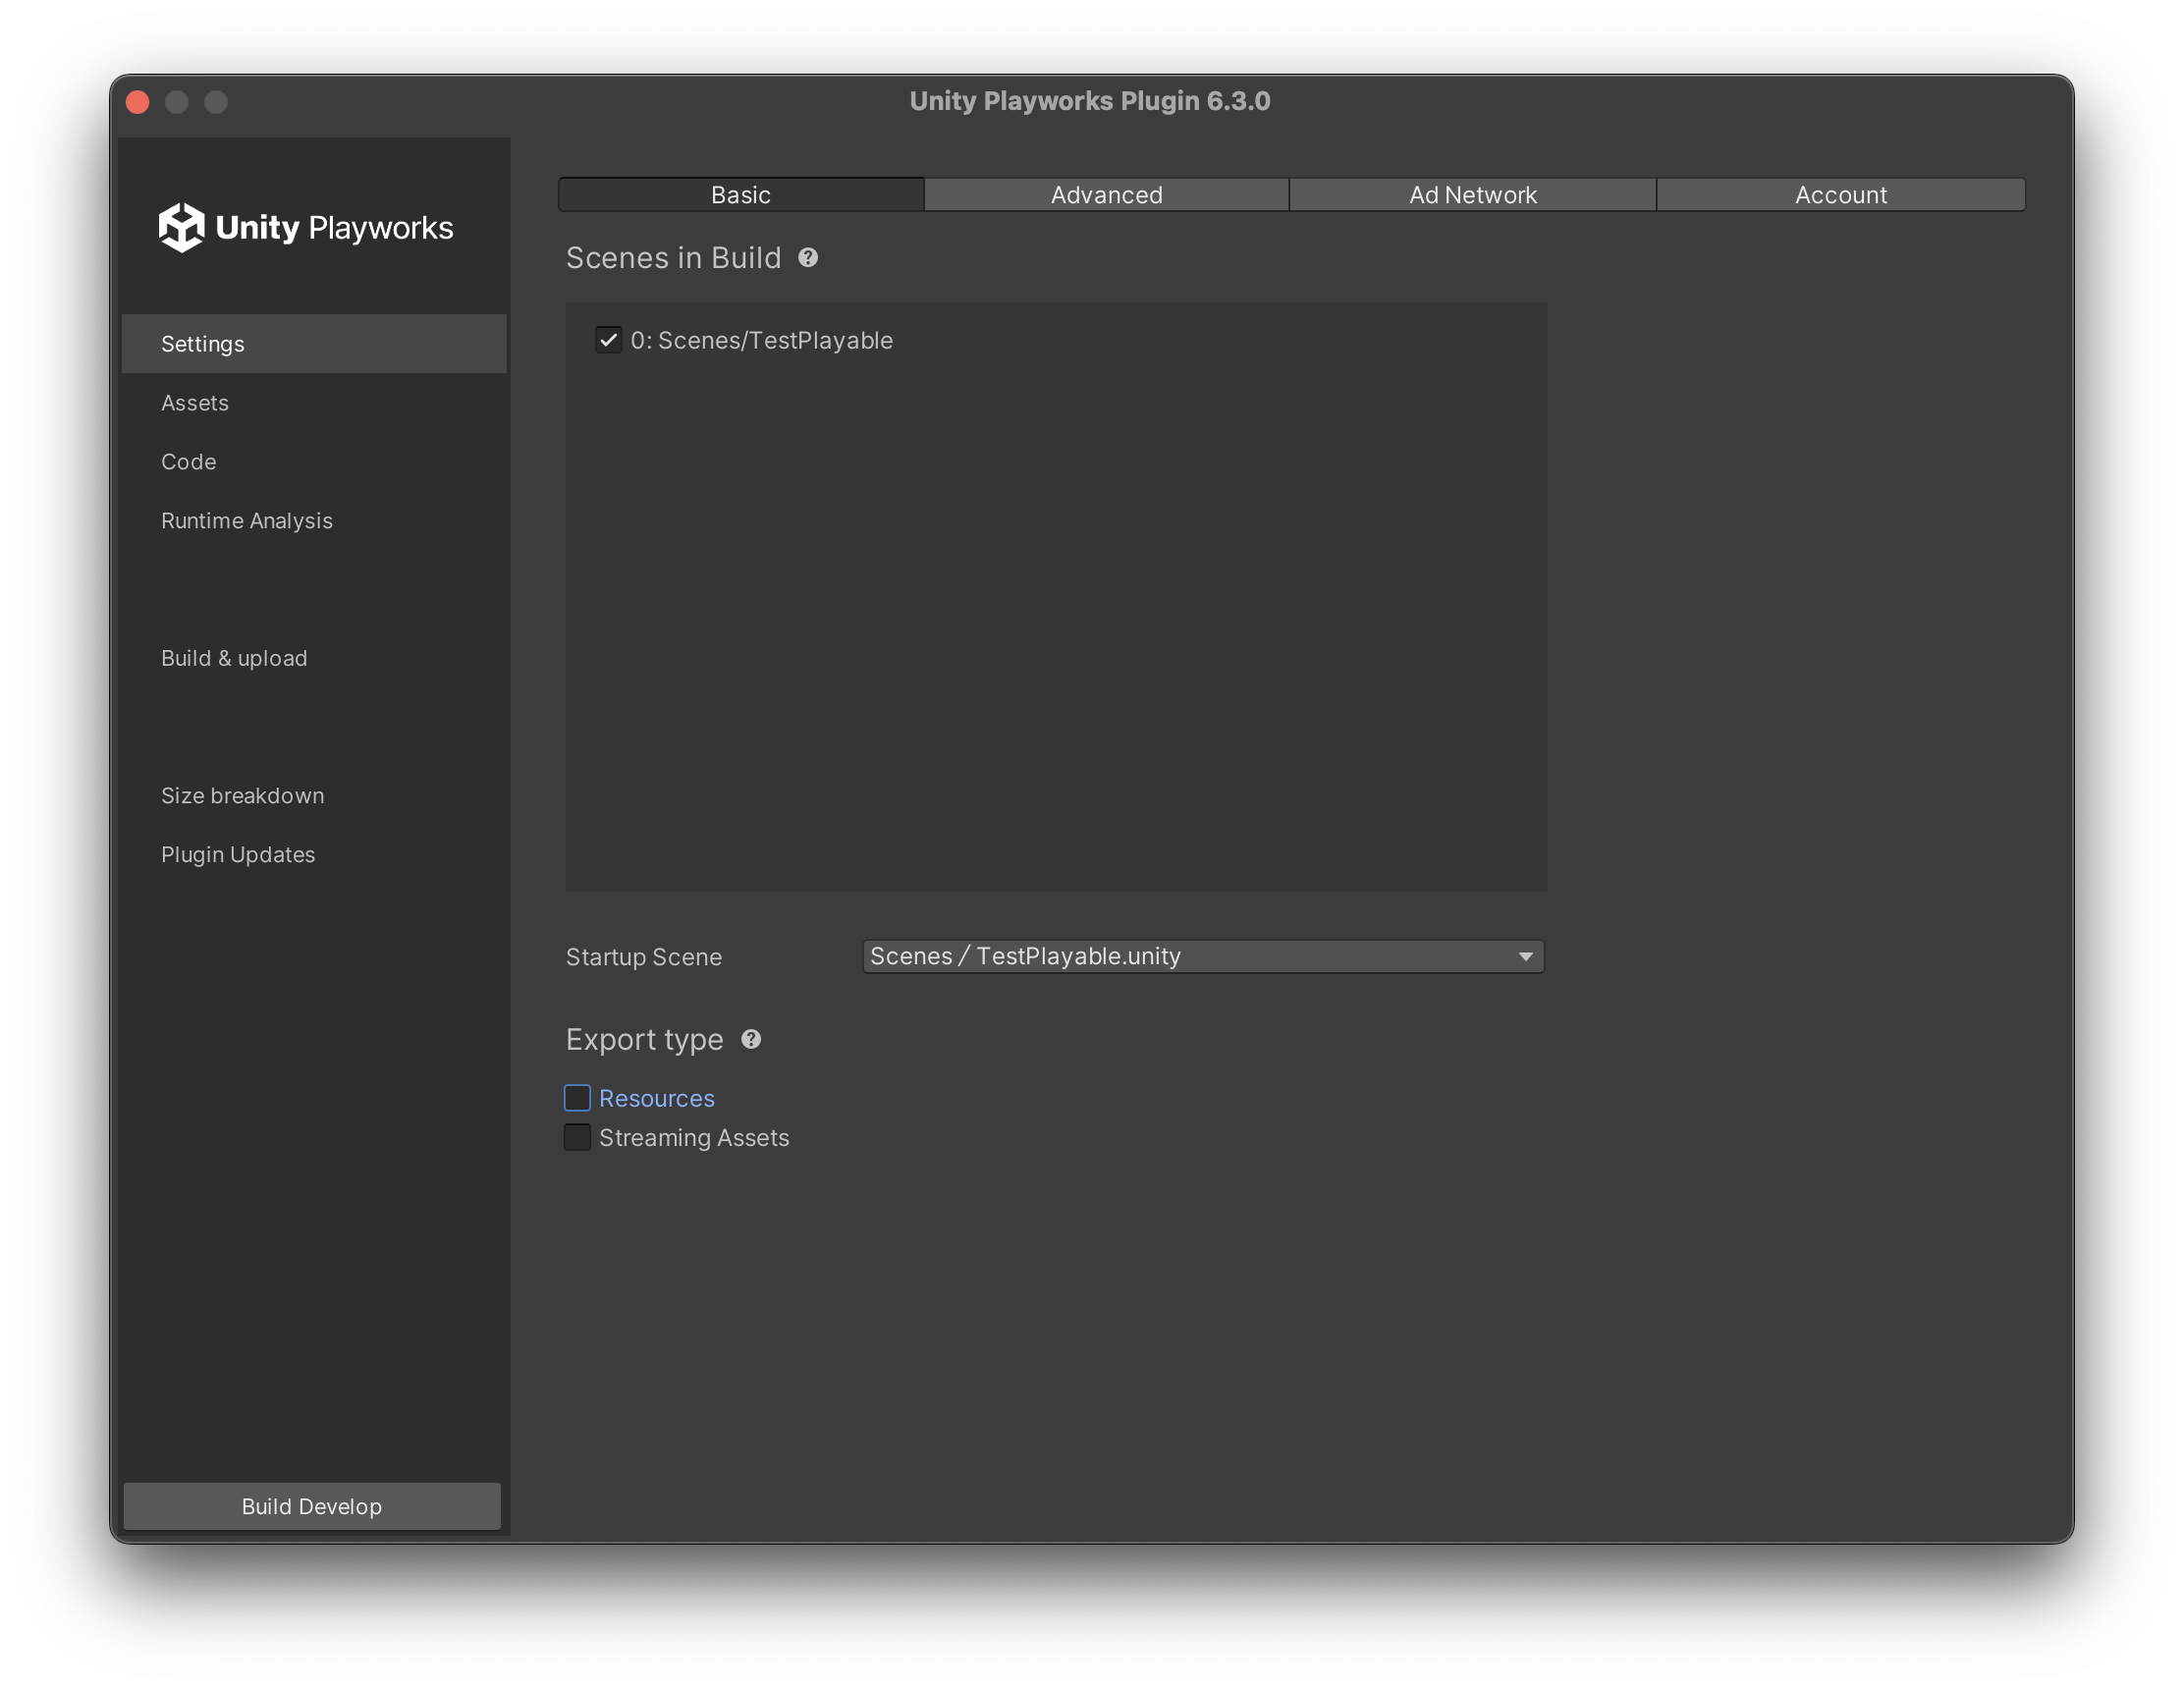
Basic
- Scenes in Build - a list of scenes which will be included in the Unity Playworks Plugin export.
- Startup Scene - the scene which will be initialised first when the export is run in the browser.
- Export type - which assets will be exported from Unity Playworks Plugin. Several options are provided to allow you reduce the size quickly.
- Project settings
Advanced
Please see the documentation for Advanced Settings which included more details about this tab.
Ad Network
Please see the documentation for Ad Network Settings which included more details about this tab.
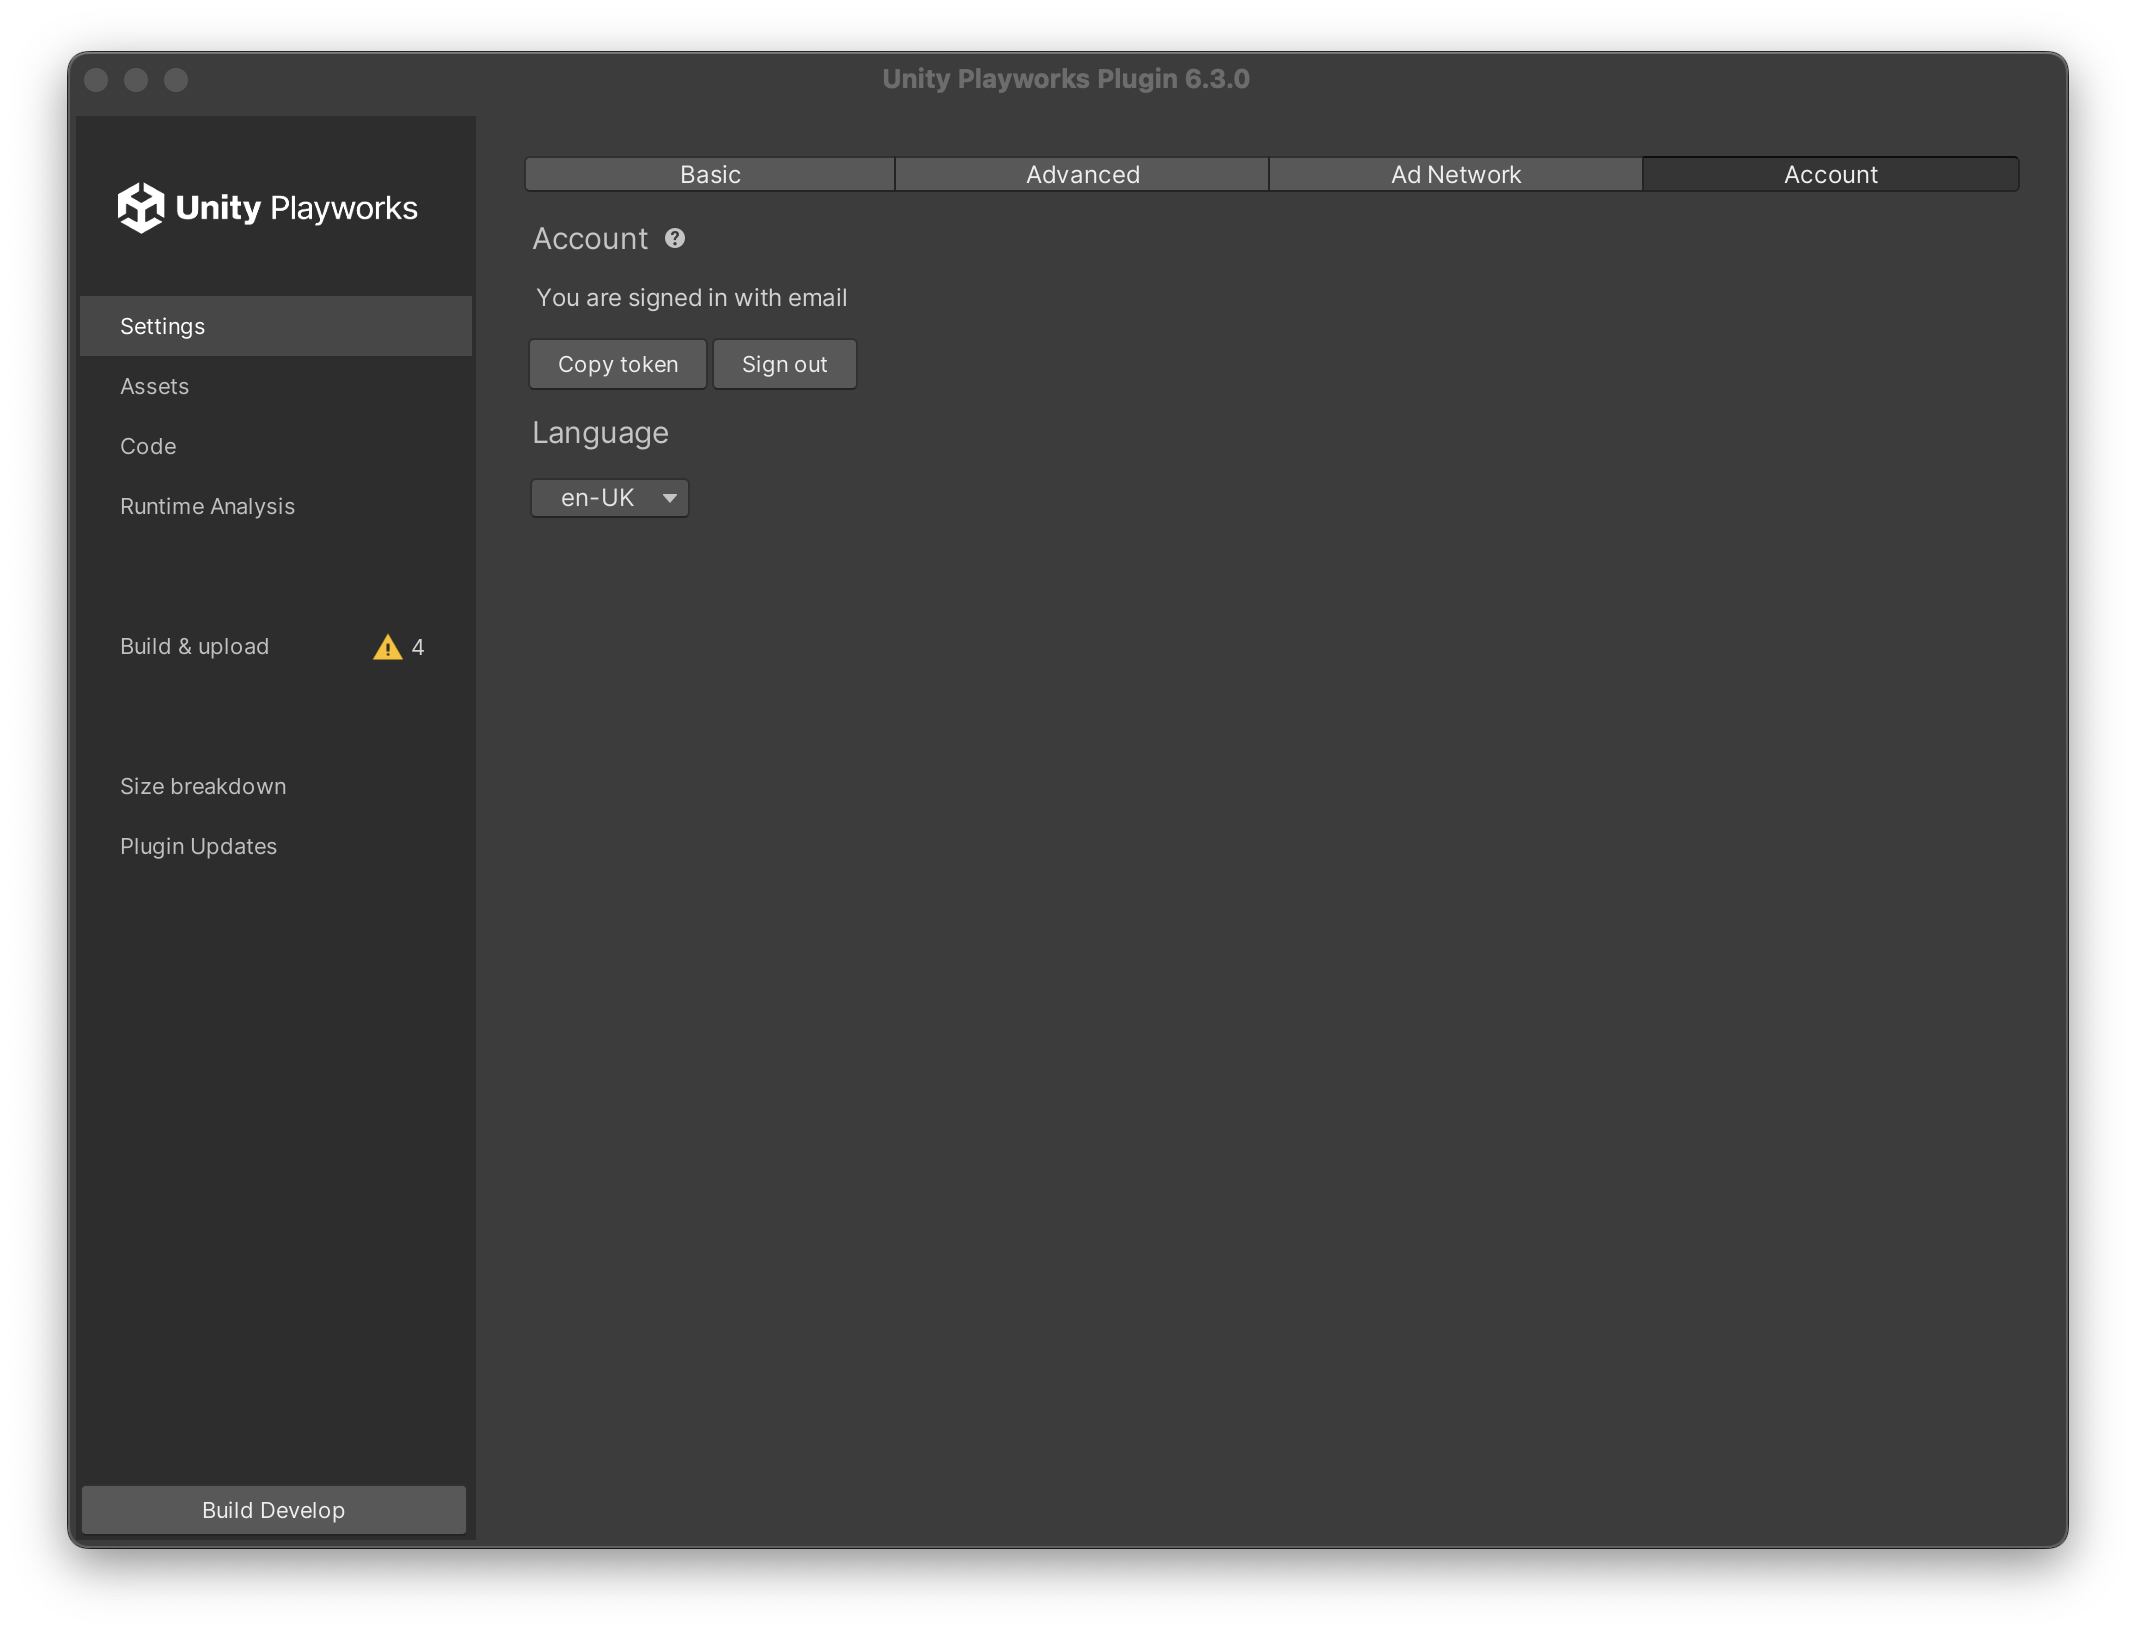
Account
Here you can logout of your Unity Playworks account.
Set Plugin Language
This tab also contains the option for you to change the Playworks Plugin window's language.
At this point in time we support:
- English
- Russian
- Chinese
Assets
The Assets section allows you to control which assets are included in your build, and how they are formatted. If the size of your playable is too large, this is where you will need to focus your attention.
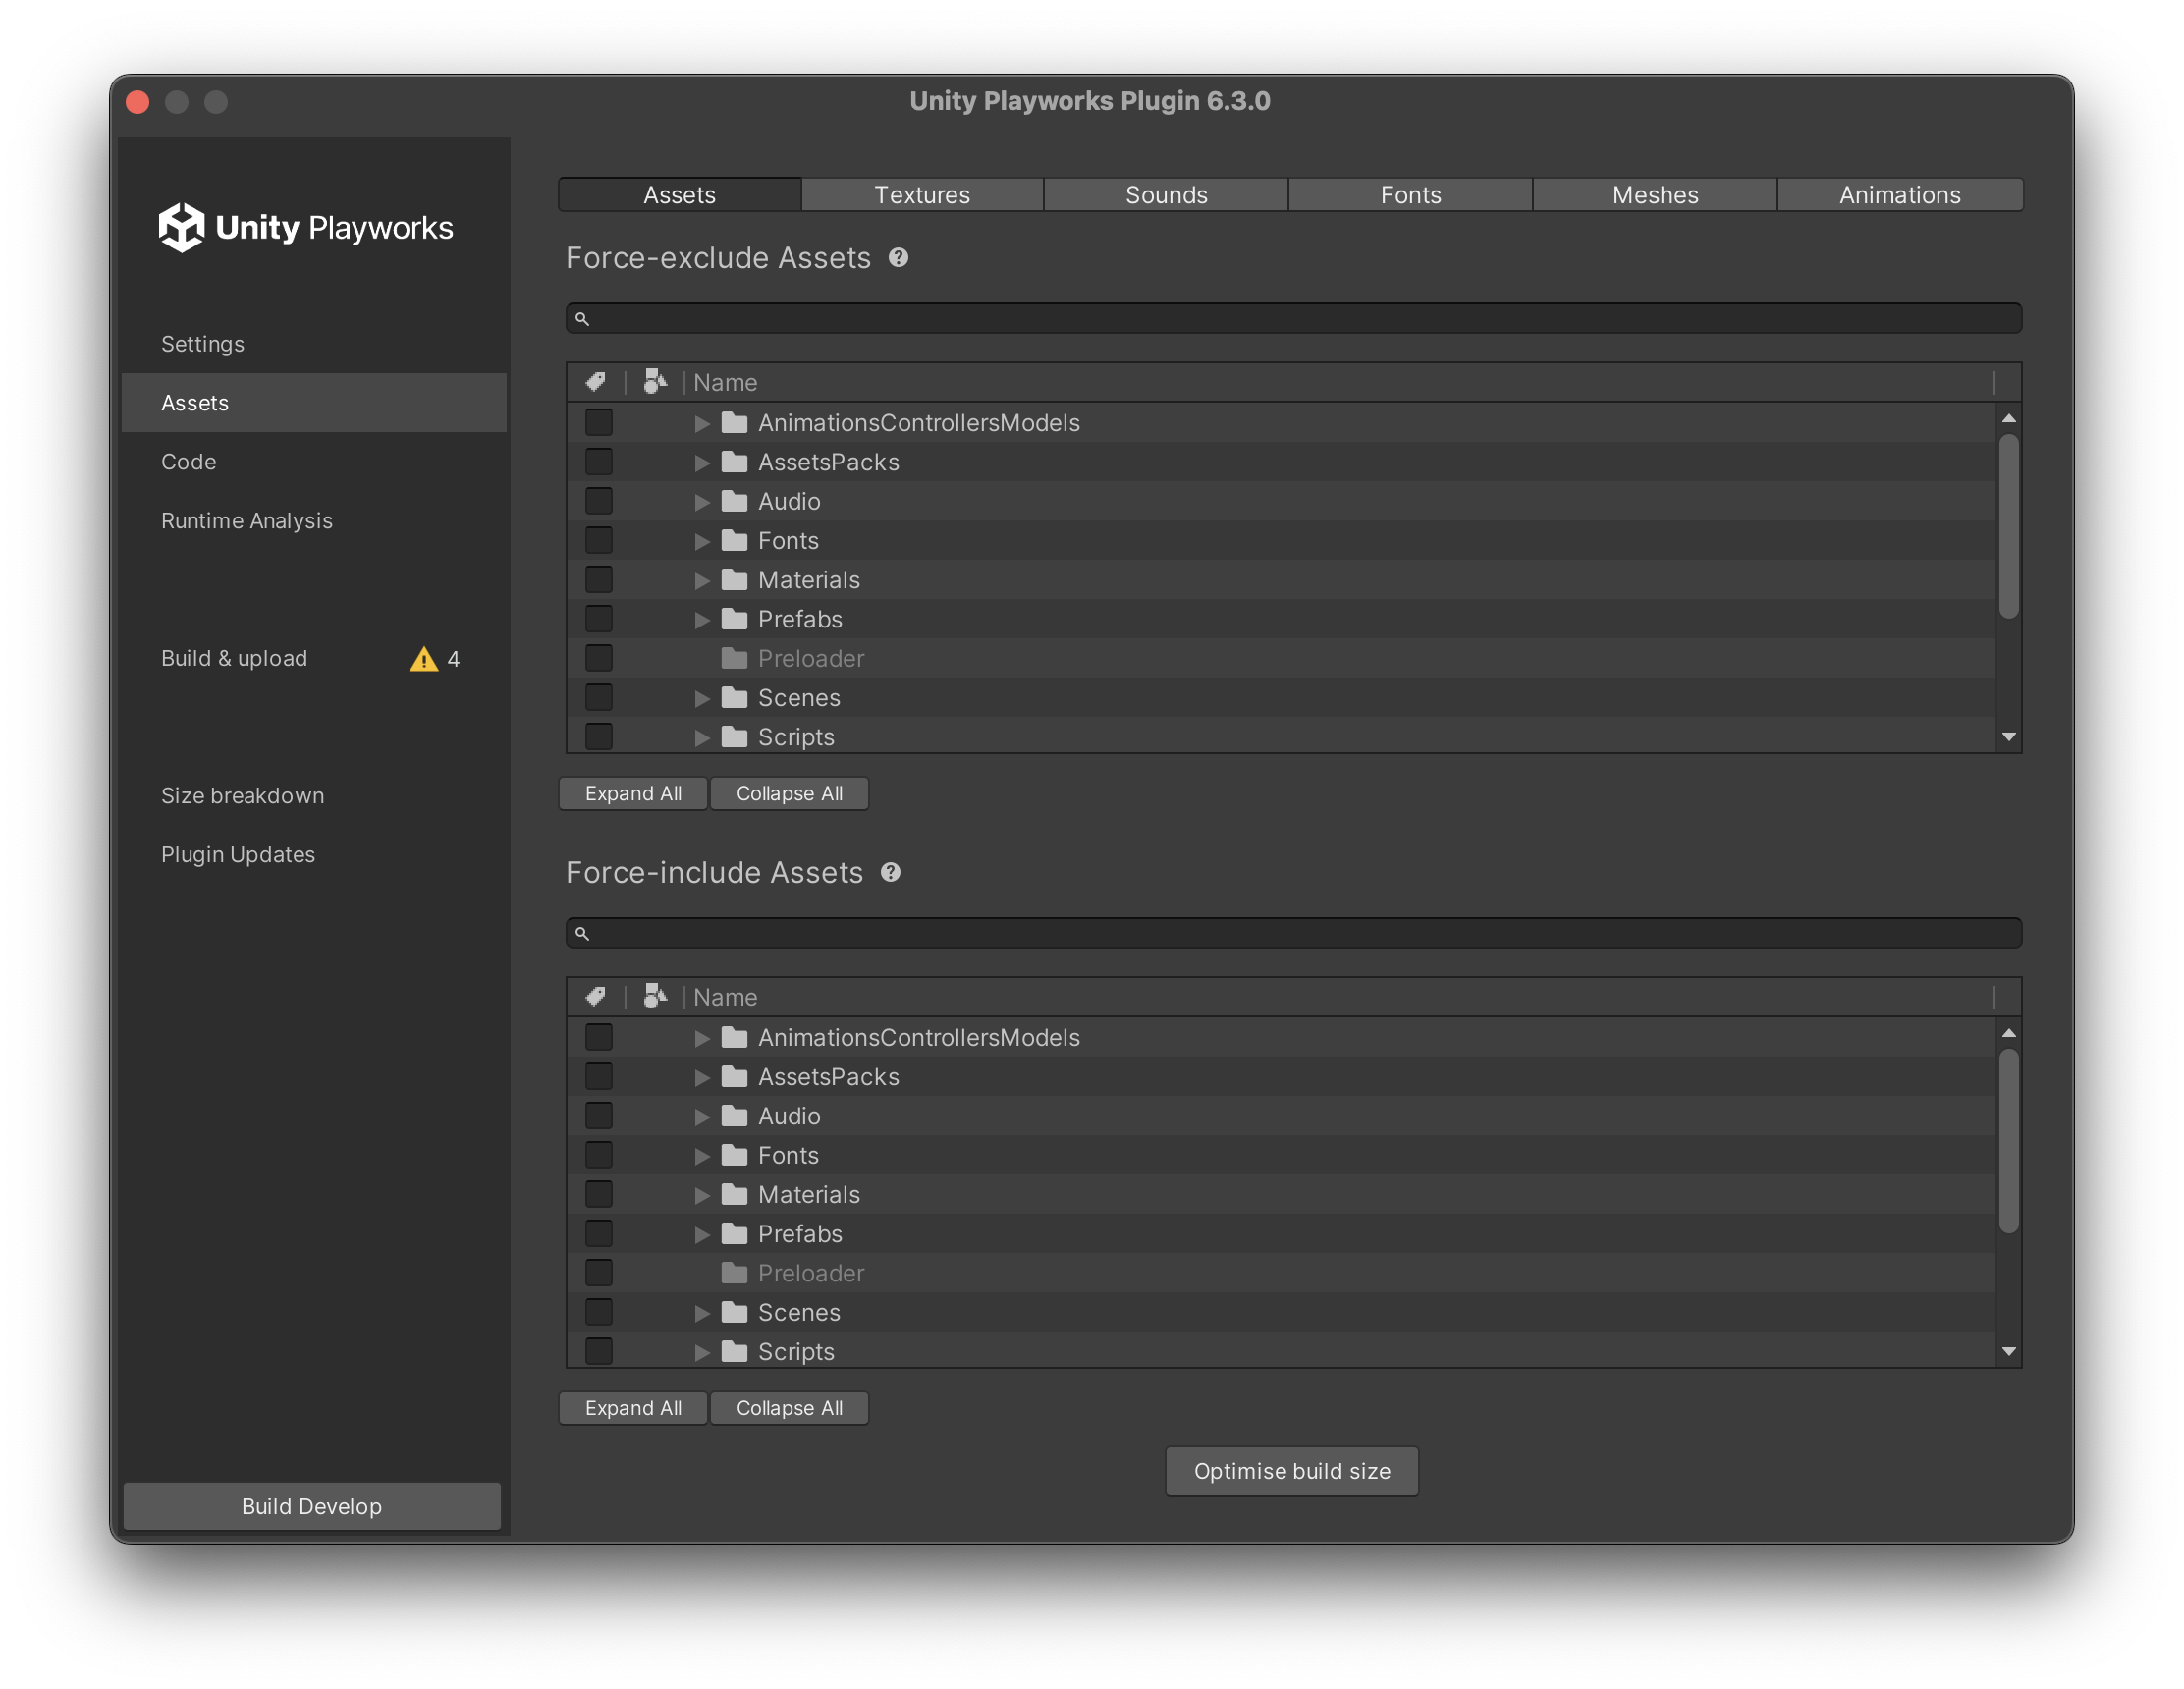
Assets
For exclude and include assets from your build. Please note, selecting a folder includes every asset in that folder, and force-include always wins (overrides and exclusion). See more details here.
Asset types
The following tabs allow you to optimise the asset types, and contain specific features related to these types. For more information, please review the documentation on how to optimise your build.
- Optimising textures
- Optimising sounds
- Optimising fonts
- Optimising animations
- Optimising meshes
- Optimising fonts
- Optimising shaders
Highlight included/excluded assets
Playworks Plugin also provides a visual assistance in the form of highlighting assets in your project window depending on whether the asset is marked for force-exclusion or force-inclusion. You can find out more about this feature as well as how to enable it by clicking here.
Double-click files within the Plugin window to open them in Unity
Any files you can see in a tree view in the Unity Playworks Plugin window can be double-clicked upon in order to then open their location in the Unity project folder, as well as in the inspector tab.
Sound Timeline Cropping tool
Within the Sound subtab of the Asset section, you can trim the length of audio files included in your project.
If you wish to set a global crop time for all your included audio files, you can do this within the 'Cropping' option at the top of the window (doing so will not override individual crops).
Otherwise if you wish to edit audio files individually, select the audio file you wish to trim in the file browser.
In this section that will appear below the file browser, you can begin trimming your audio file by entering in the desired beginning and end points in the 'from' and 'to' boxes.
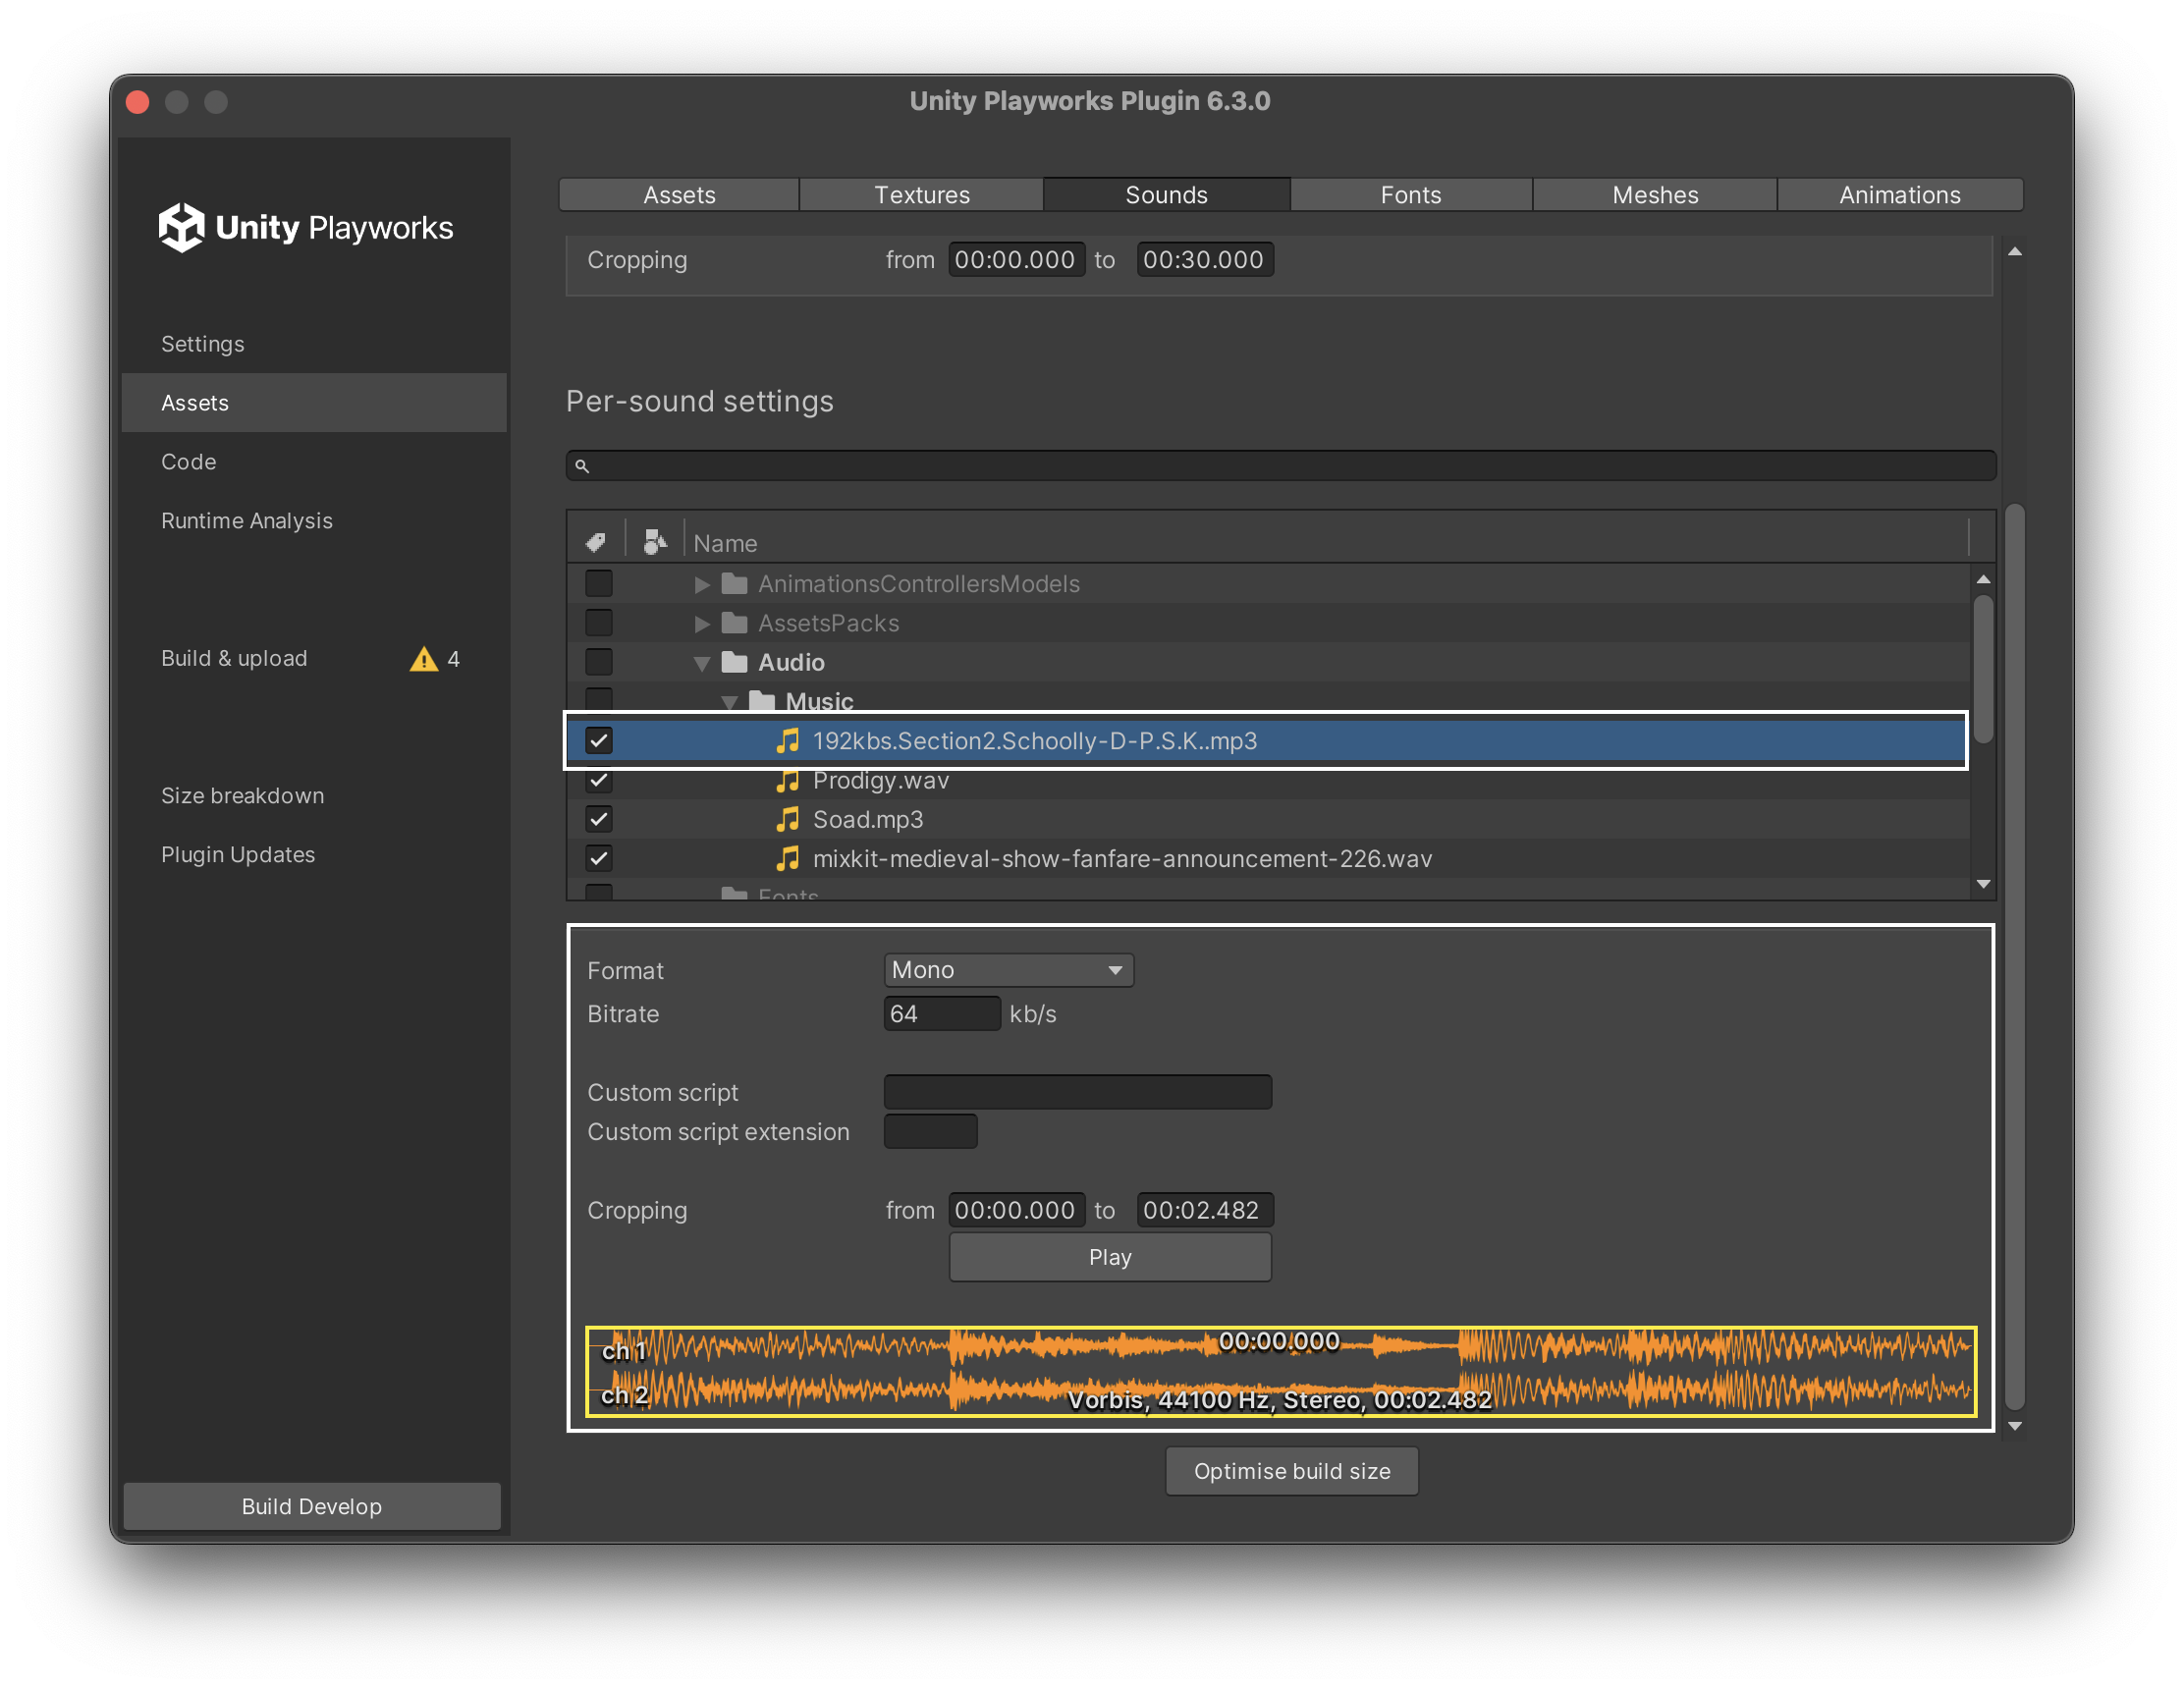
Or alternatively you can click and drag either side of the yellow box around the audio timeline graph to achieve your desired crop. (When your cursor is close enough to a side to drag, said side will turn red. Example of this below)

You can test whether your newly trimmed audio is correct by hitting the 'Play' button above the timeline, which will play the audio from it's cropped beginning to end.
Code
The Code section of the Plugin UI provides a number of tools and features that help you navigate your code and ensure it can be compiled to run on the Unity Playworks Plugin game engine.
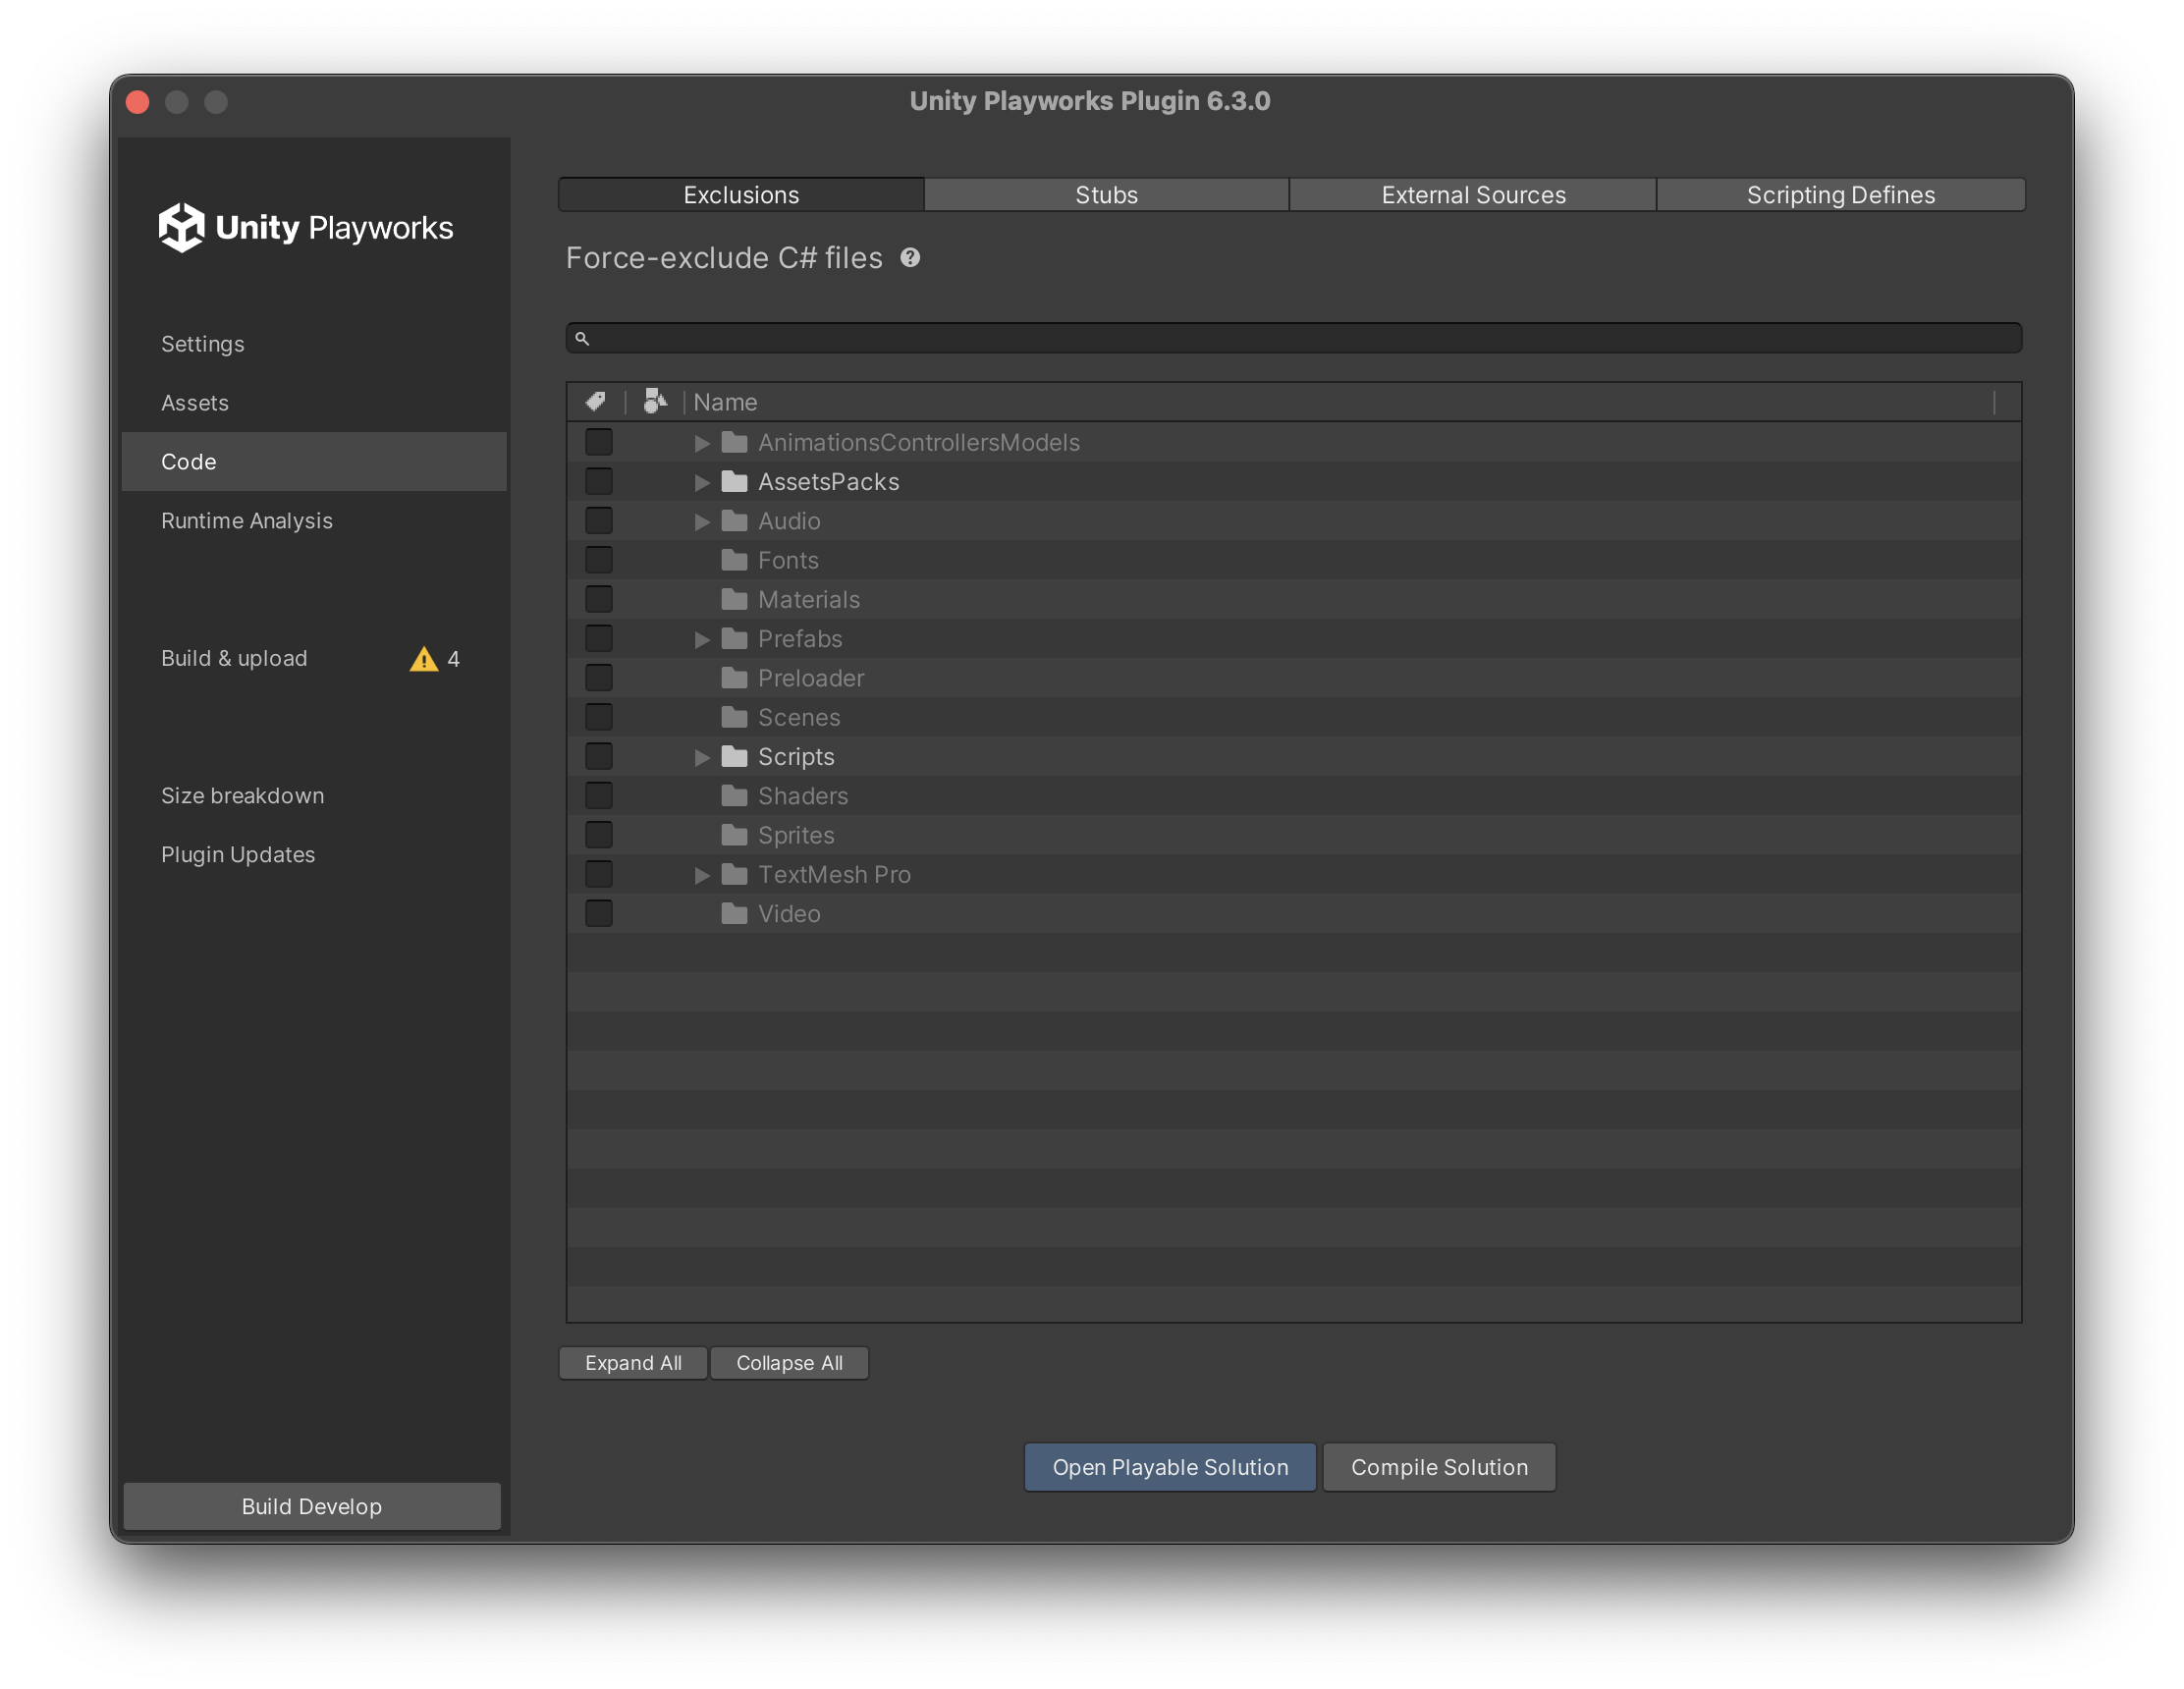
Exclusions
By default, Unity Playworks Plugin will include all C# source code when exporting your project. You should exclude source code files that aren't needed for your playable ad by using the Exclusions tab. For instance, you should exclude all "Example" scripts that come with plugins.
For full details, please review the documentation.
Stubs
Automatic Stubbing is a feature of the Playworks Plugin plugin for Unity that allows you to automatically stub libraries that are not essential to your playable but are included in your Unity project.
For full details, please review the documentation. You can also check out our blog post, about how the Stubber works.
External Sources
You may wish to include external C# or JS source code and libraries in your project. The External Sources tab allows you to do this.
For full details, please review the documentation on including C# source folders and JS libraries.
Scripting Defines
In your game code you may wrap certain features in Scripting Defines; this code will only be compiled and run in certain conditions or platforms, such as specific Unity Versions. The Scripting Defines tab allows you to include specific pre-processor symbols to be included in your Unity Playworks Plugin build.
For full details, please review the documentation.
Runtime Analysis
The Runtime Analysis section allows you to run the Runtime Analysis feature to automatically exclude code/assets/shaders that are not used in your project.
Click here for more information about Runtime Analysis.
Build & Upload
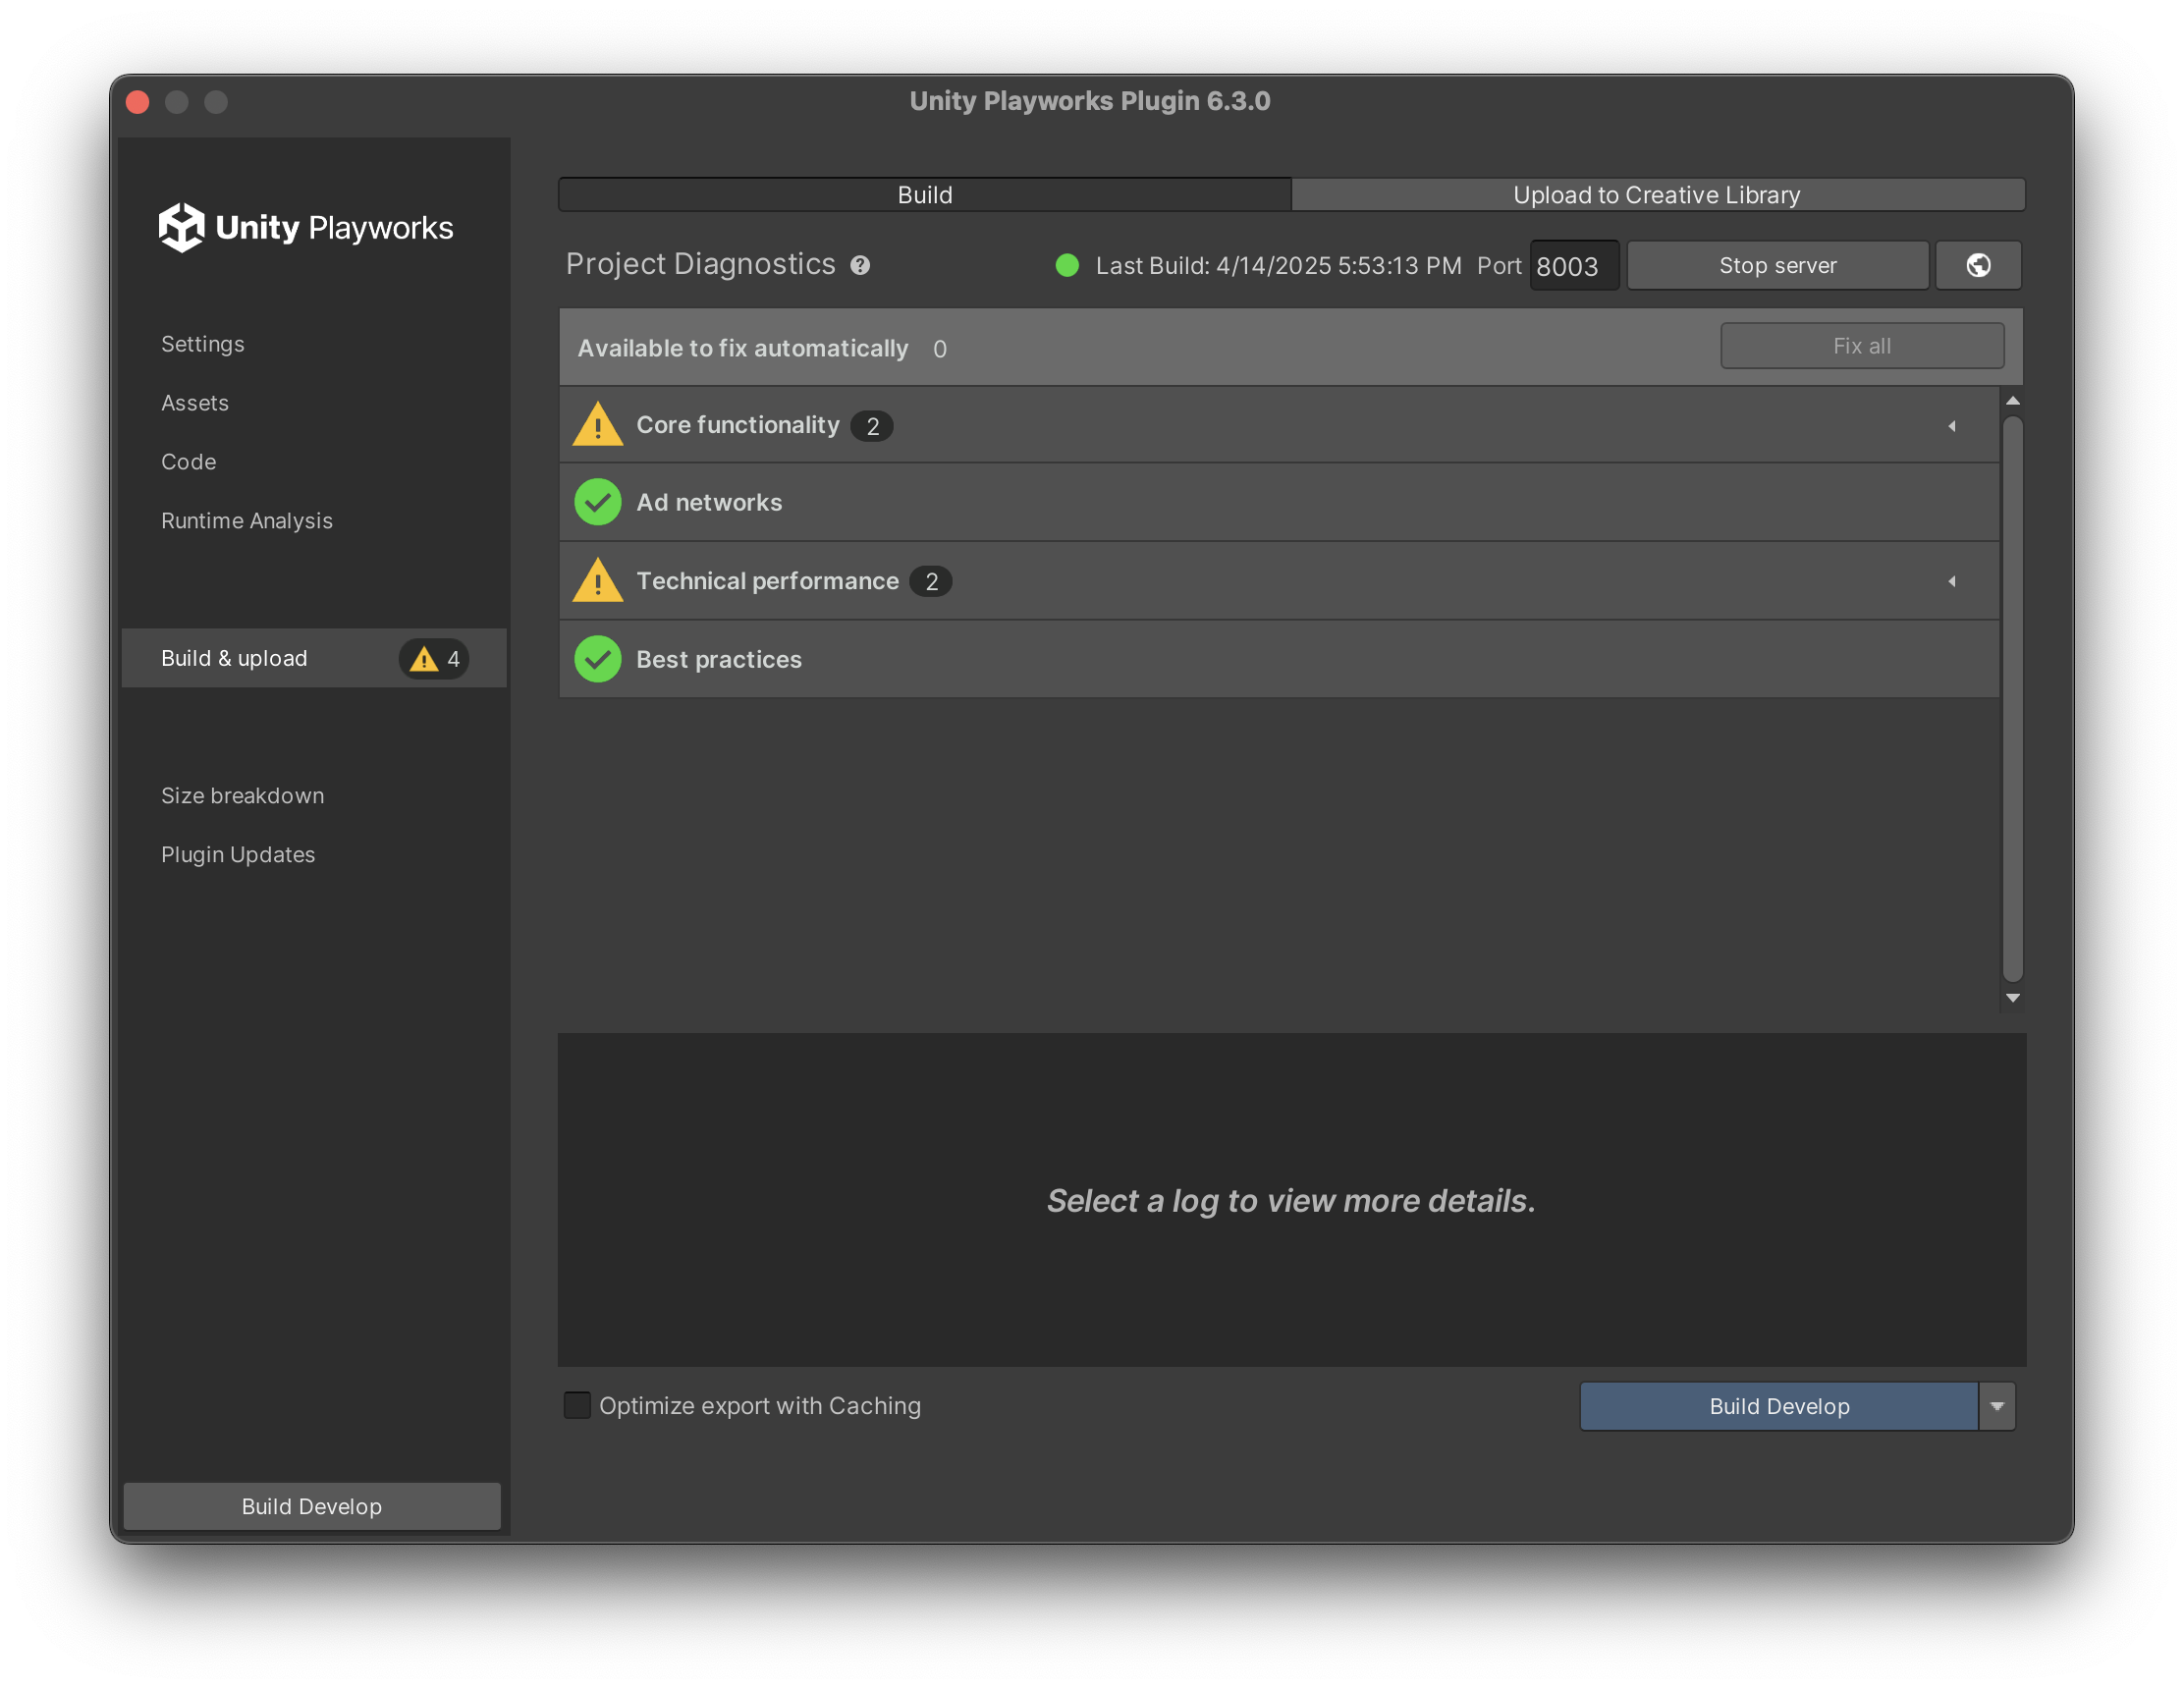
The Build & Upload section allows you to run a local development build of your project, debug your project and upload it to Unity Playworks.
The build output will be output in PROJECT > LunaTemp > Stage4 > develop.
This sections has two tabs:
The Build tab:
- Build project - creates a new build of your project, using the settings defined in the sections of the Plugin UI.
- Server > Start server - plugin opens a
http-serverfor your convenience. - Project Diagnostics - A breakdown of any compilation errors you encountered when putting together your playable.
The Upload a Build tab:
- Upload section - upload or update a creative concept from Unity to Unity Playworks. For full details, please review the documentation.
- Project Health Check - A checklist that tests your creative on different axis to predict the readiness of the project.
Project Diagnostics
The Project Diagnostics sections provides a breakdown of any compilation issues with your playable in an easy and digestible way. You can use this panel to get insights into what is causing compilation issues with your project's source code, and navigate between other tabs and the code solution to make amendments.
For full details, please review the documentation.
Size Breakdown
The Size Breakdown provides you with a detailed breakdown of what is taking up space in your Unity Playworks Plugin builds, by asset type.
For full details, please review the documentation.
Plugin Updates
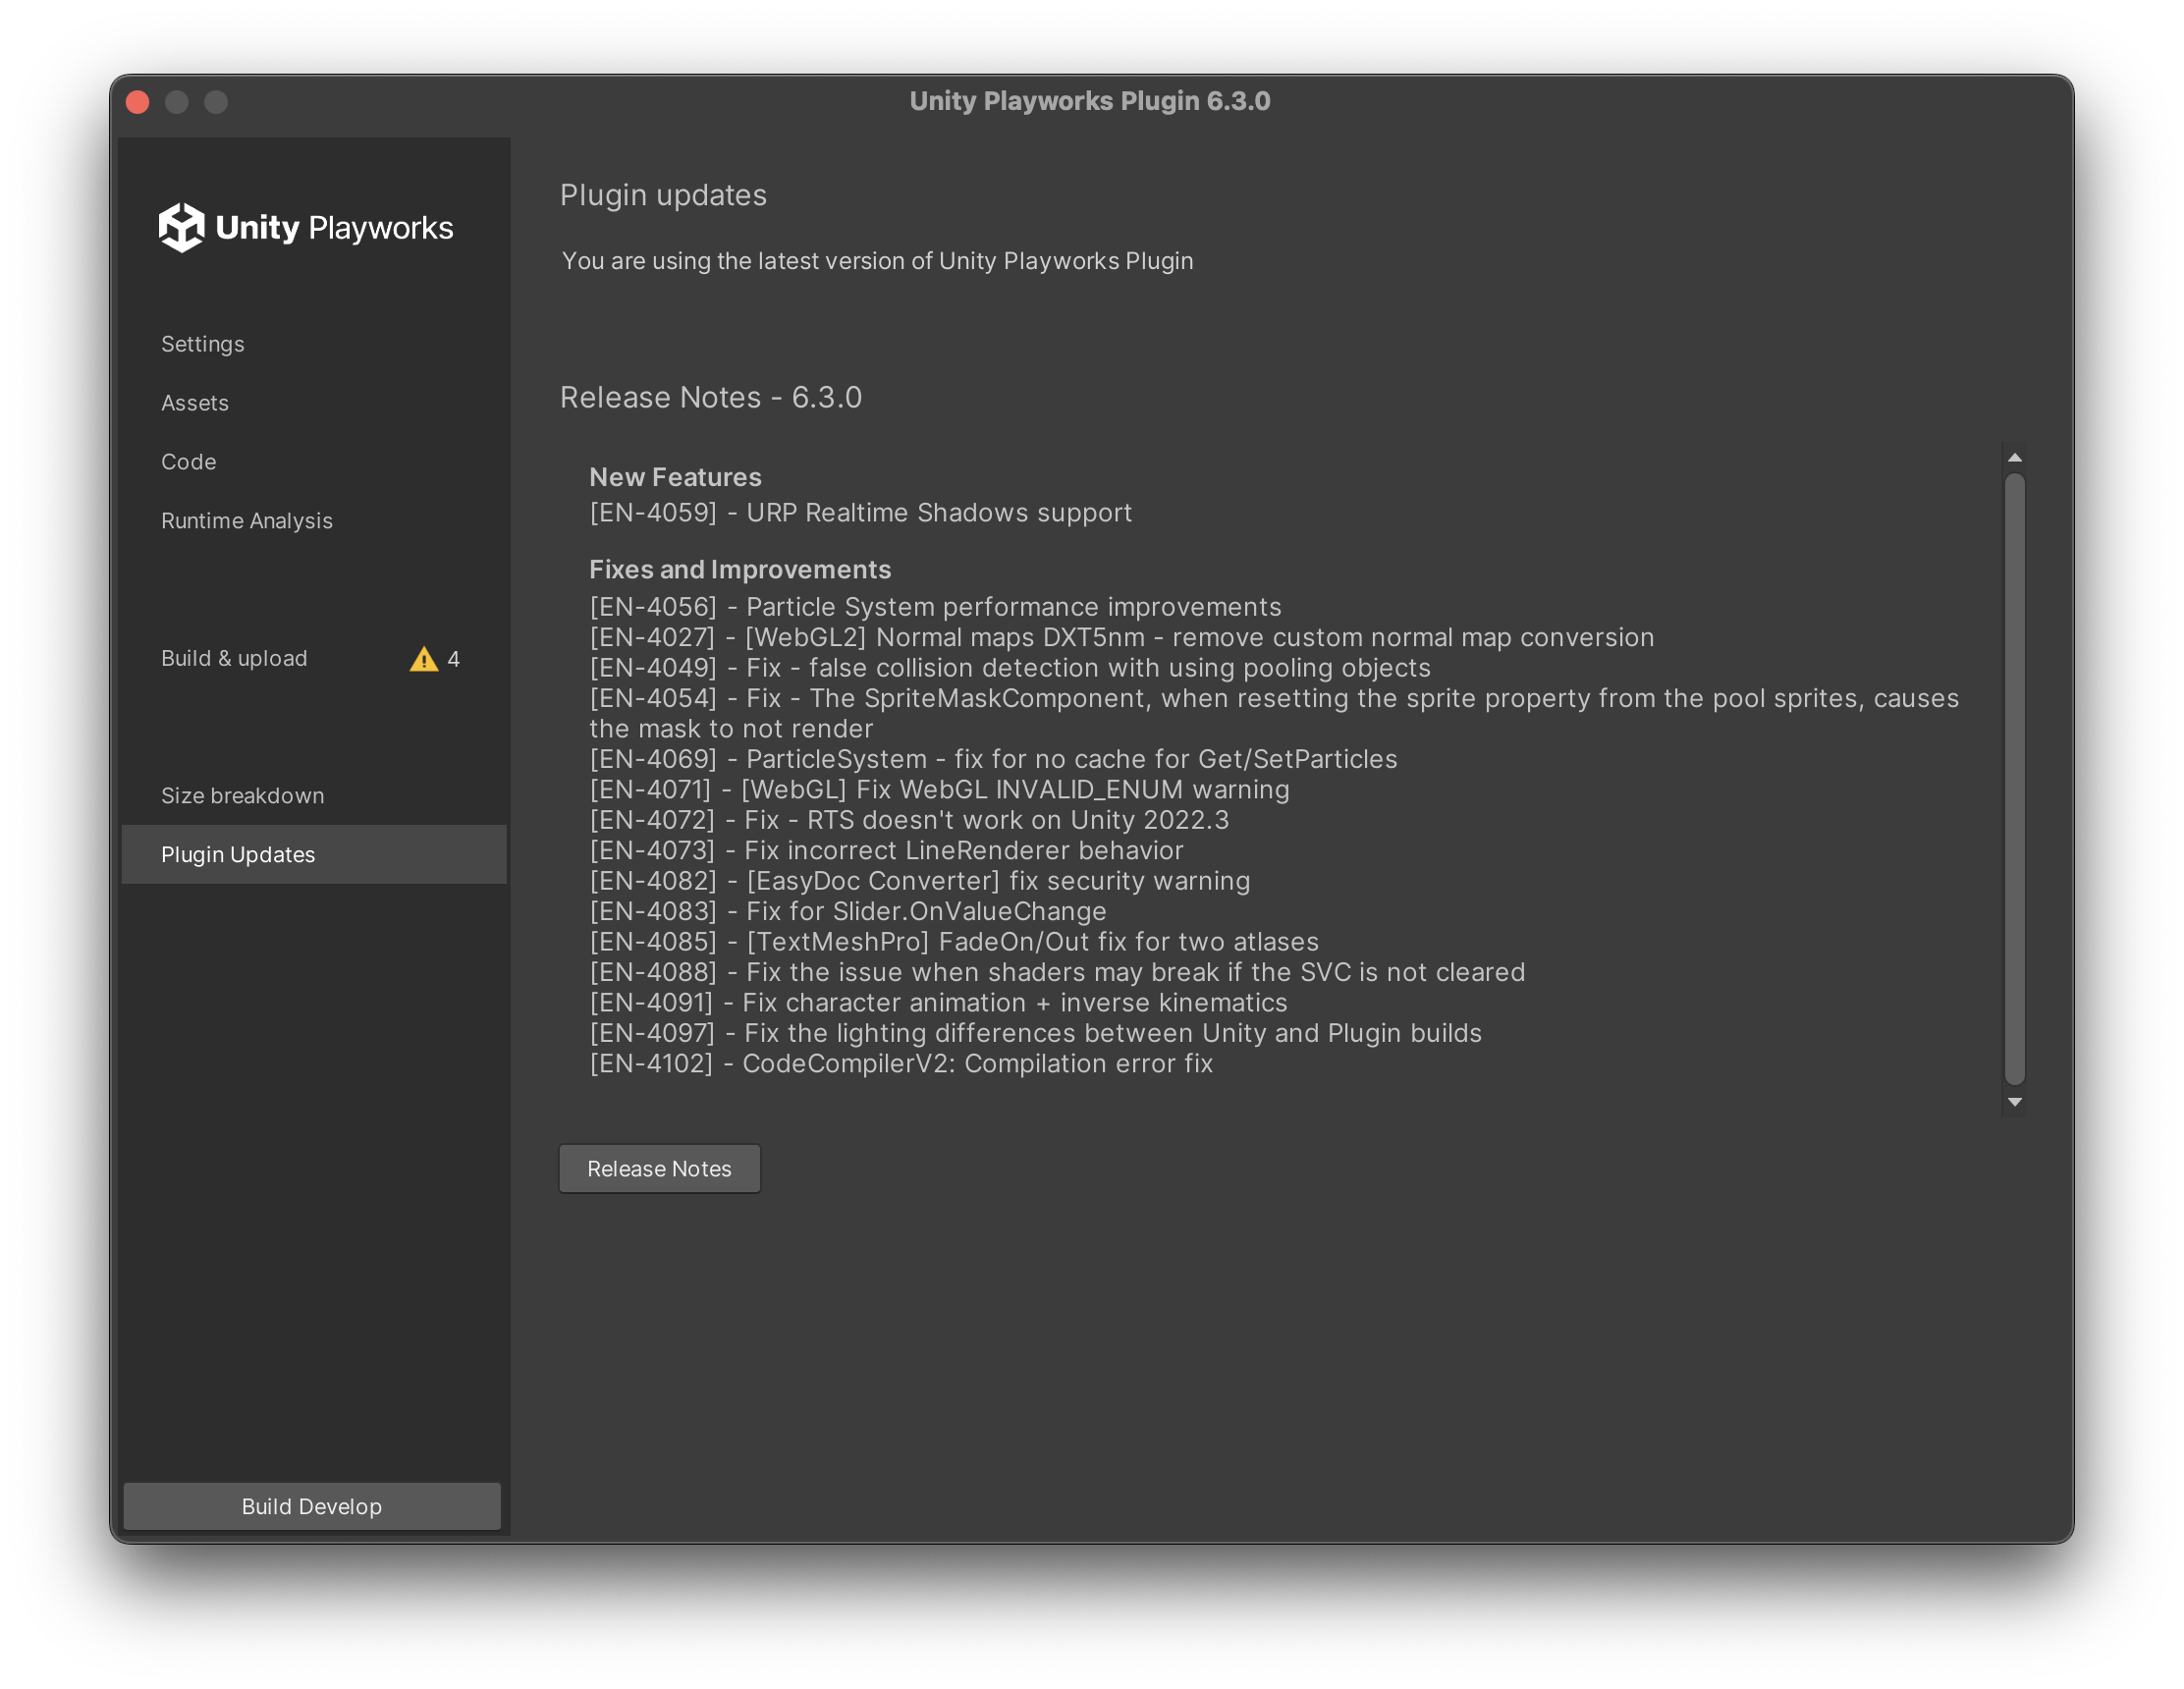
In this section, you will be notified when a new version of Playable is released, along with a list of new features.
