Unity Playworks - Media Library
The Unity Playworks Plugin Media Library allows you to store assets in your own library for future use. This is ideal for commonly used items like button backgrounds, pointer GIFs, utility images and so on.
How to navigate to your Media Library
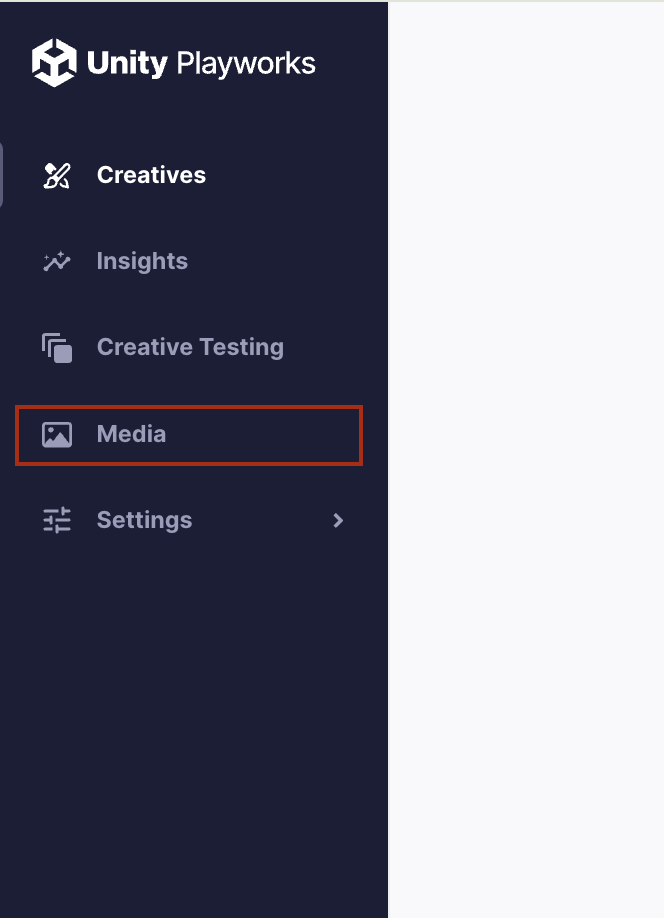
To navigate your Media Library you can click on the Media link located at the left side of the Creative Library page (where all your apps or concepts are available).
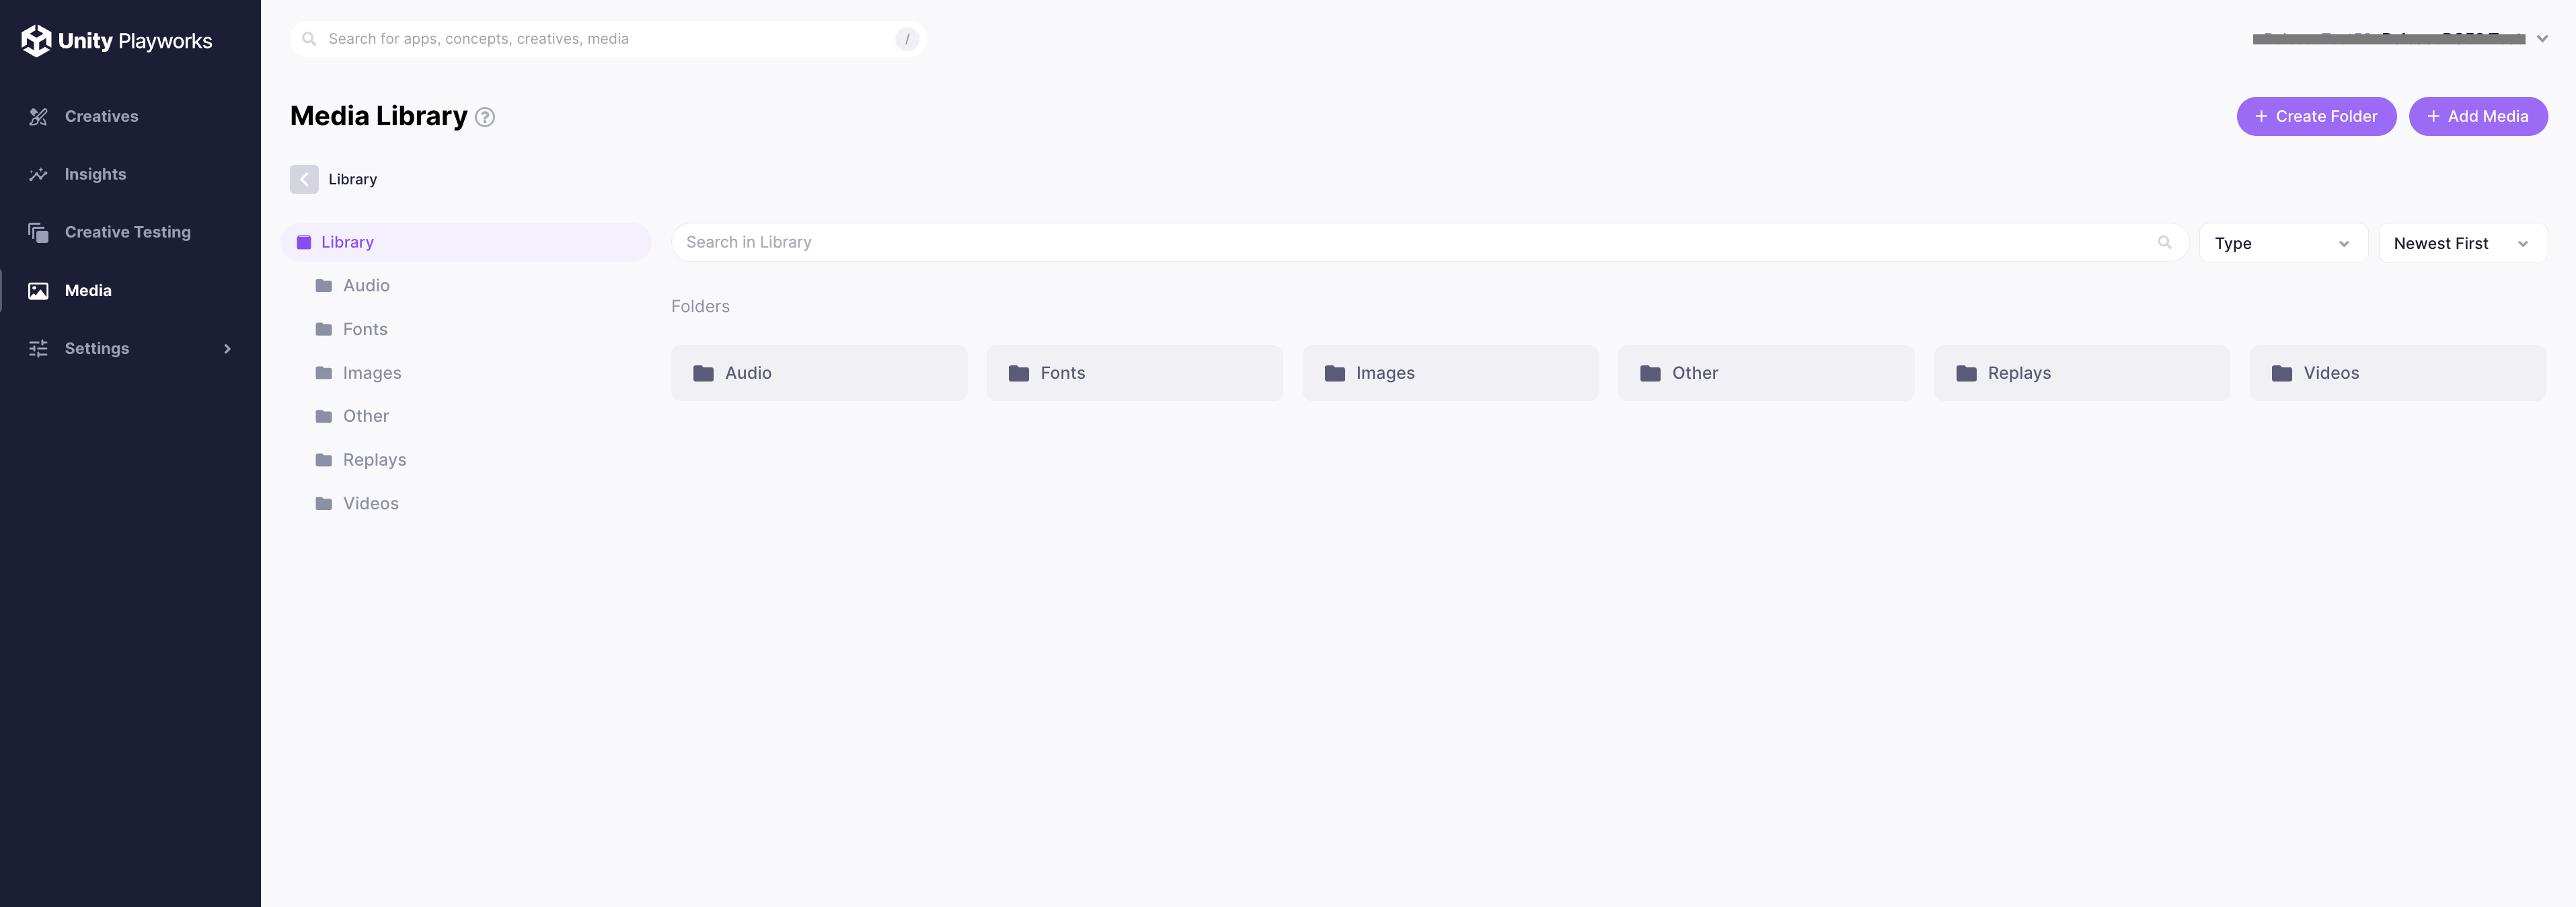
After that, you will be presented with a new webpage which allows you to manage all of your files. Here you can add new media files for your playables, but you can also view or edit any of your already uploaded assets.
Navigating to Media Library from playables
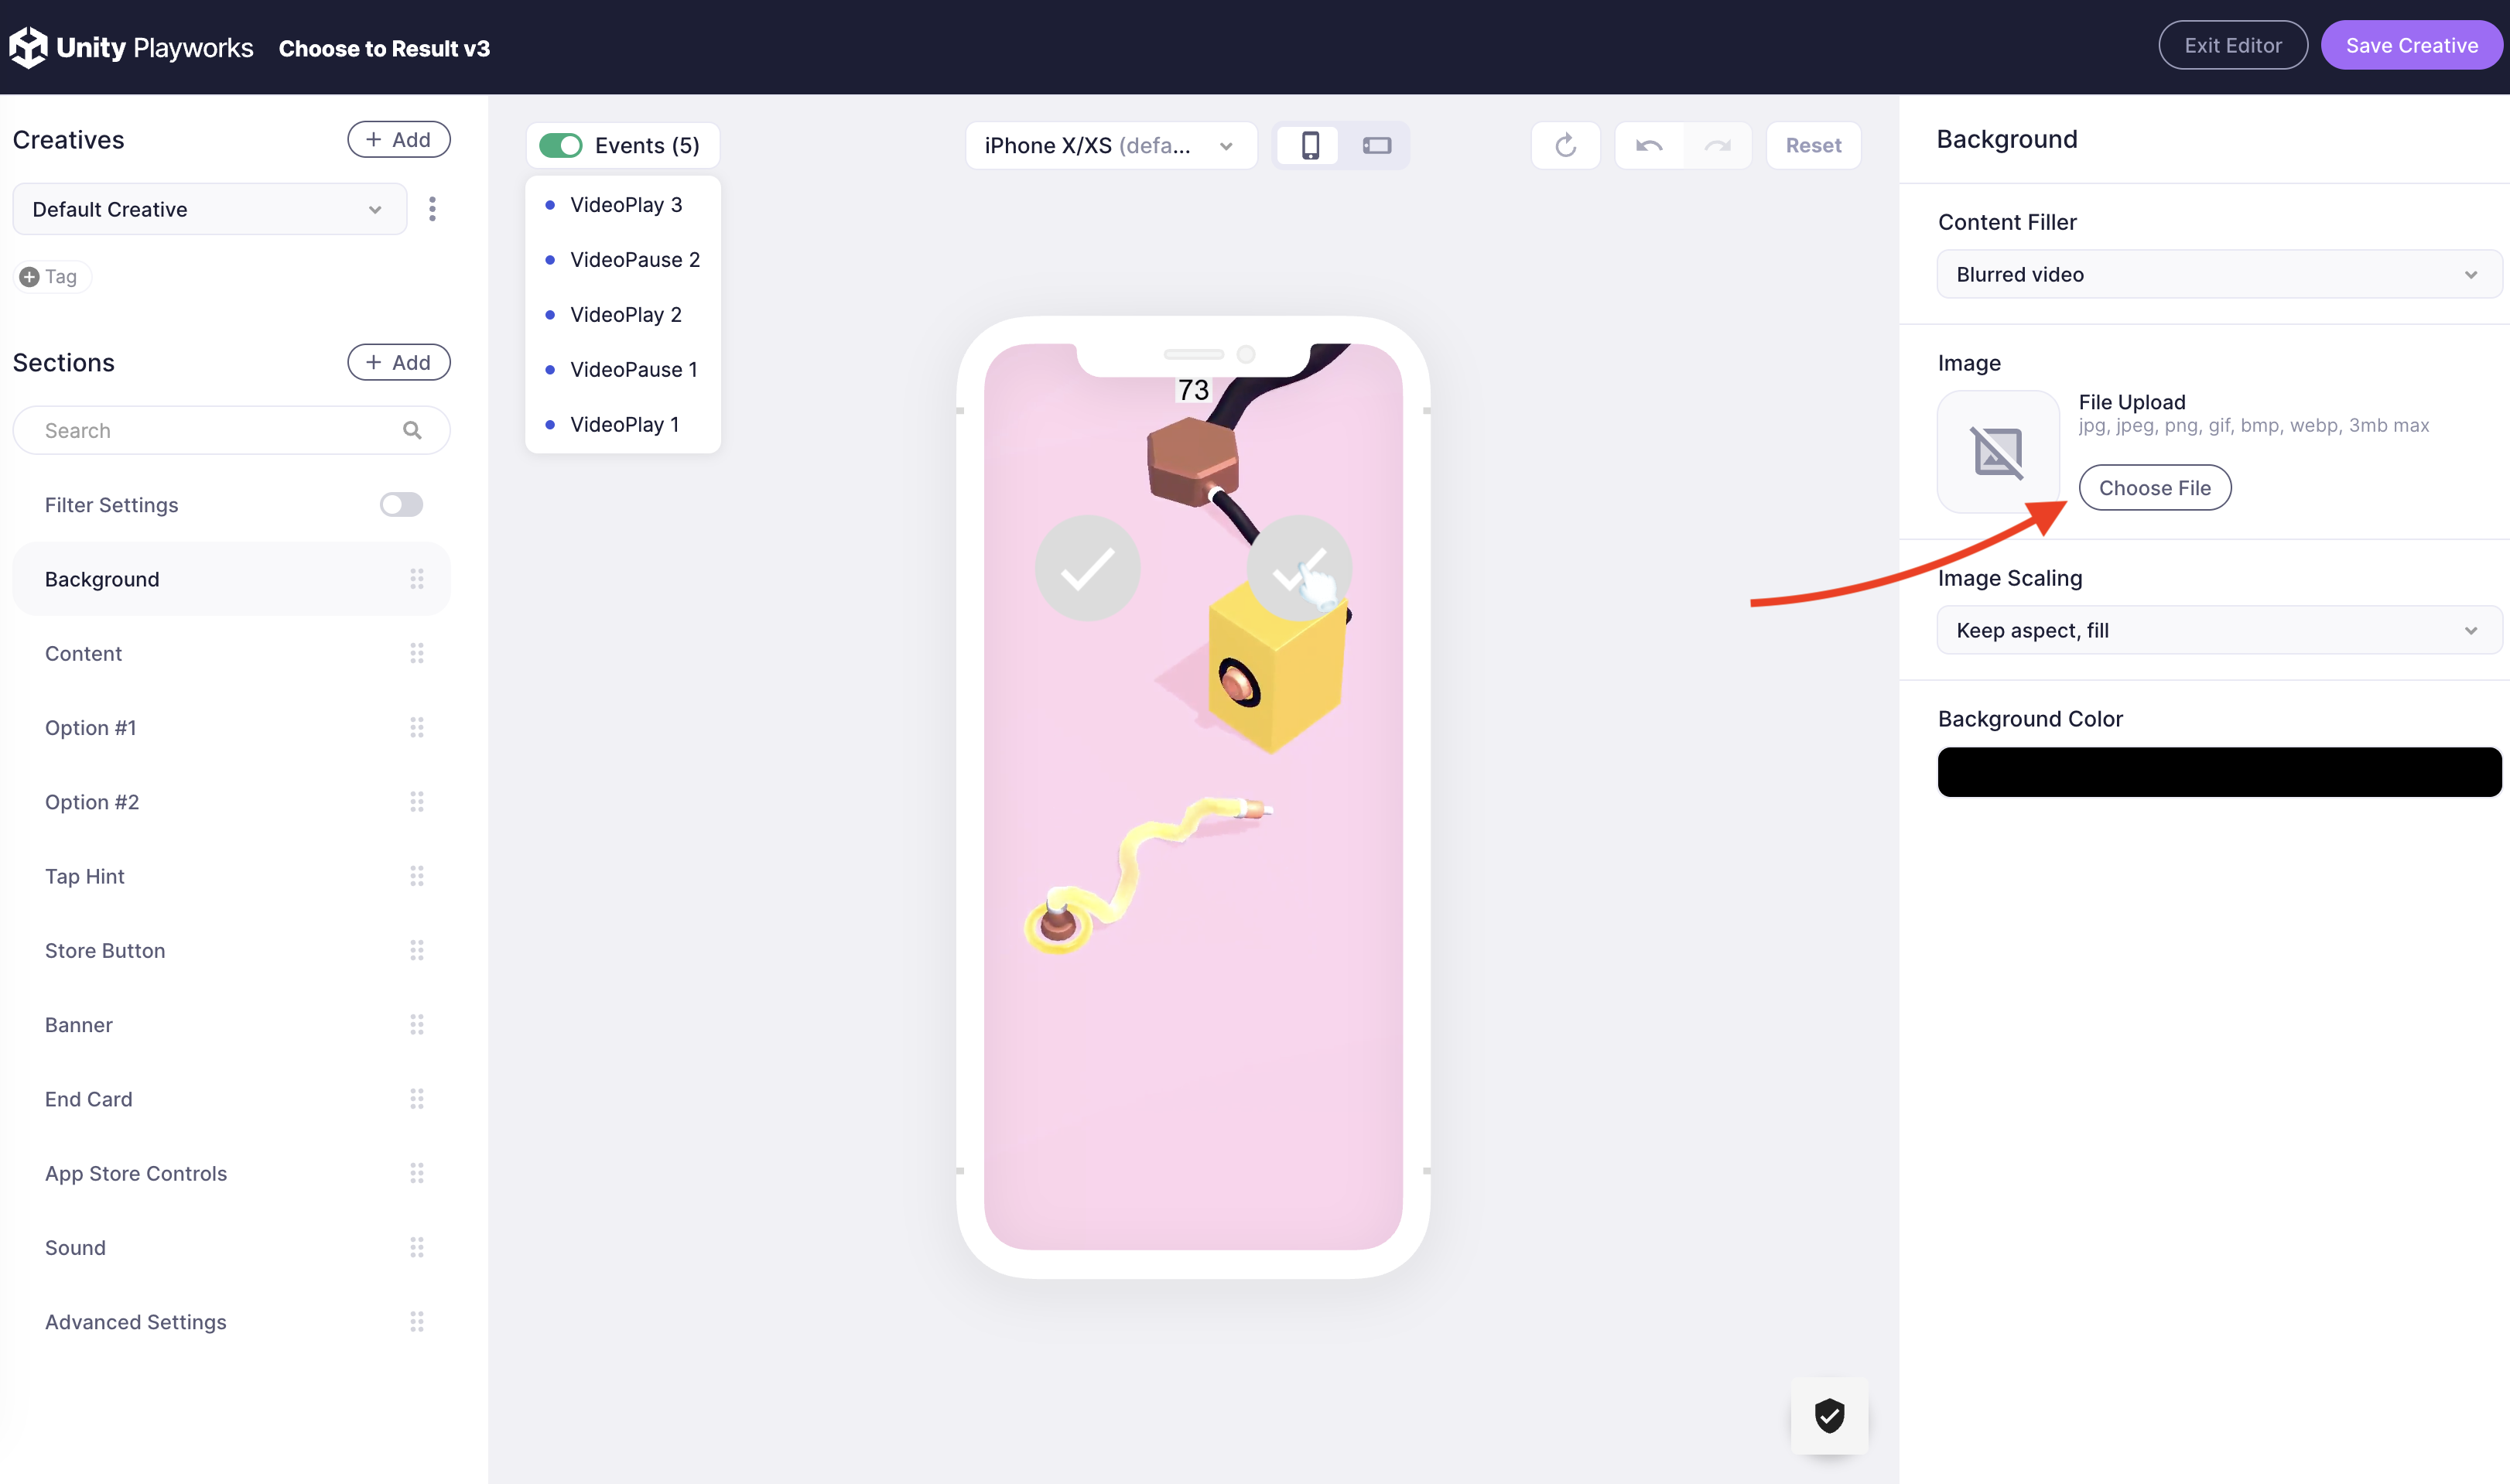
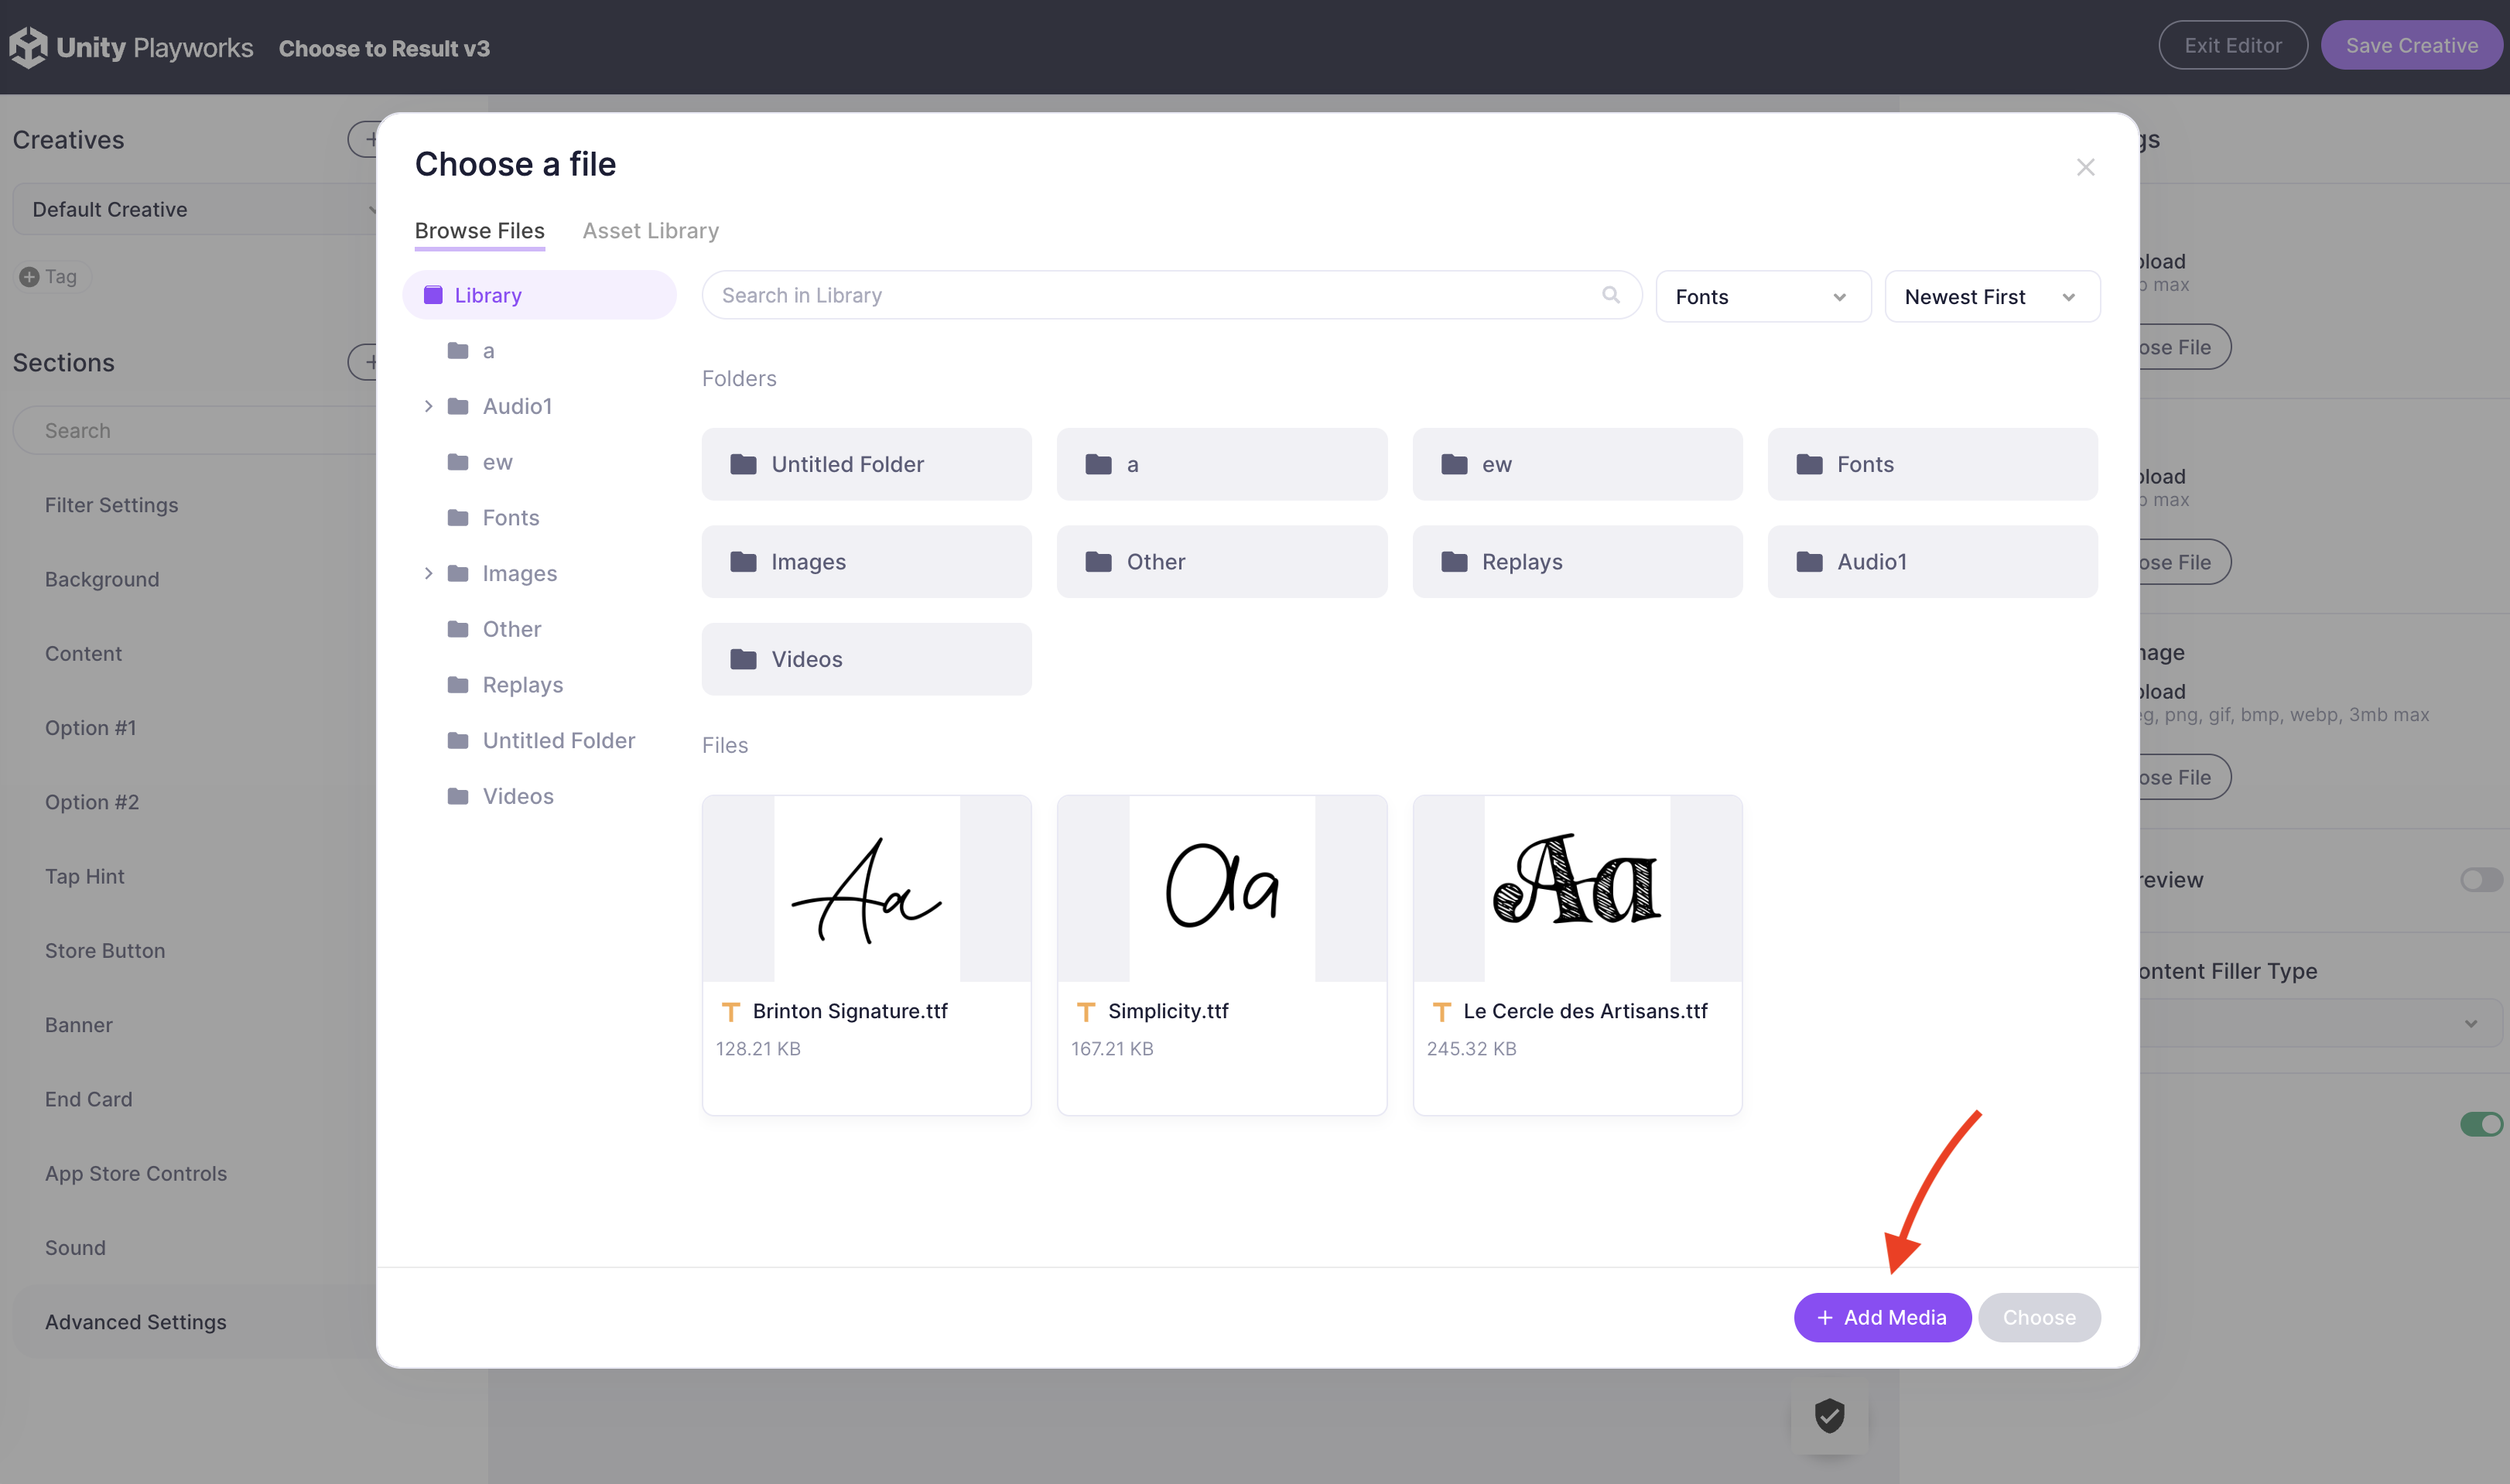
You can access the Media Library also whilst viewing any of your playables inside of Unity Playworks. Navigate to a field that allows you to choose an asset (such as an image, audio file, video or font). This will open the Media Library view.
How to upload to your Media Library
In the Media Library, users can upload new files by clicking on the + Add Media button, located at the top-right of the page.

This will open a new window.
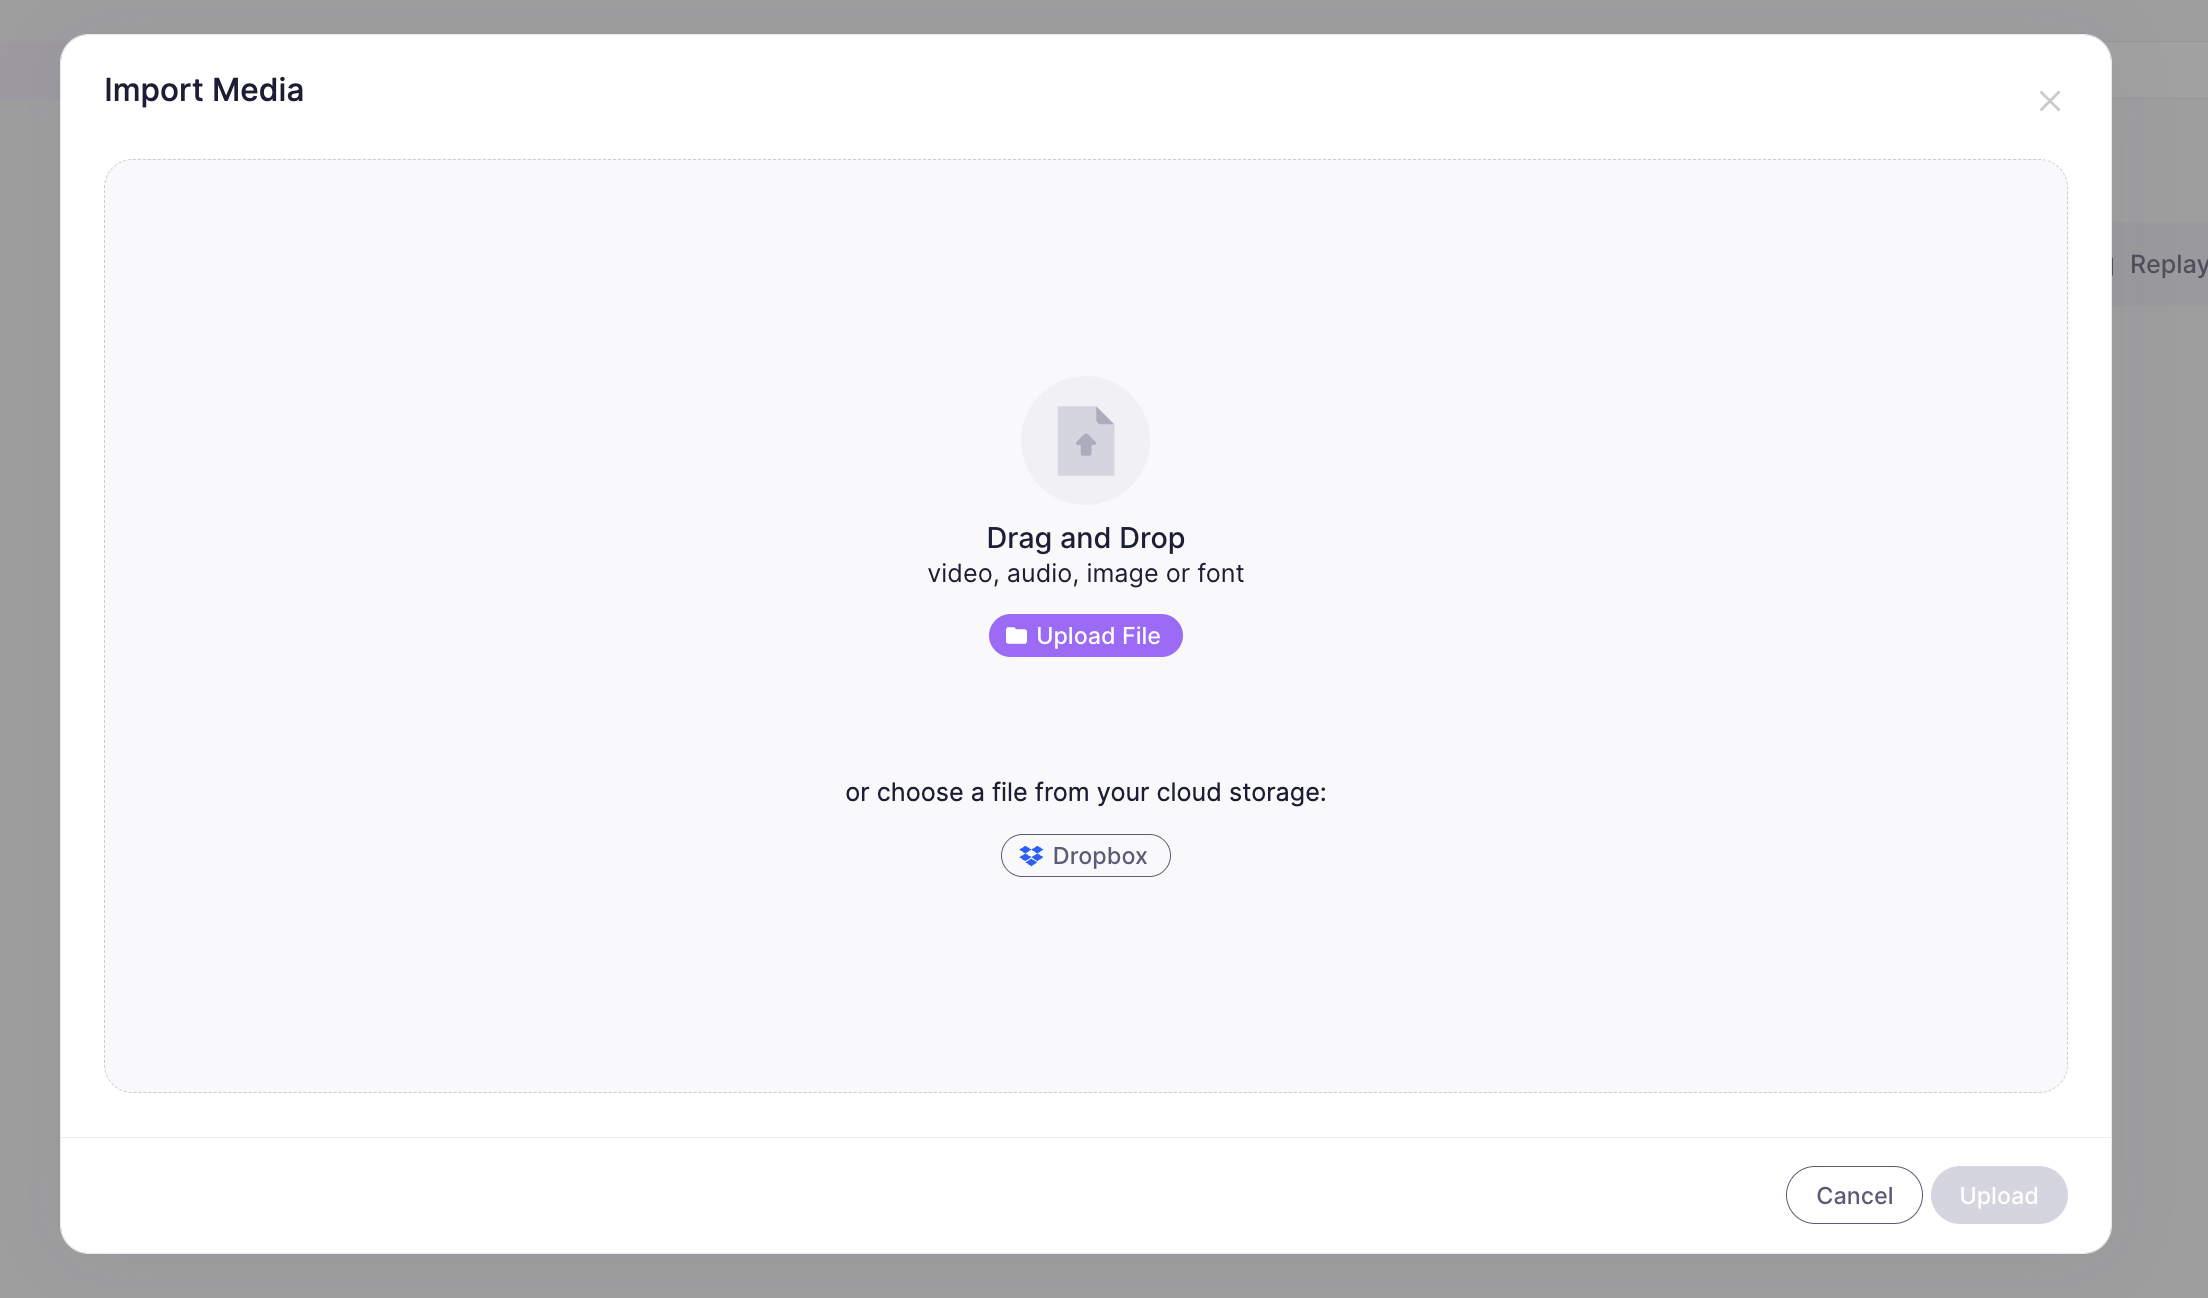
Click the upload window to open your file explorer and navigate to your file locations, or you can simply drag and drop the wanted files into the window. Finally, press the Upload button to upload the file into Unity Playworks. You can also import files directly from Dropbox using the cloud storage pickers available in the upload dialog.
Uploading files to Media Library from playables
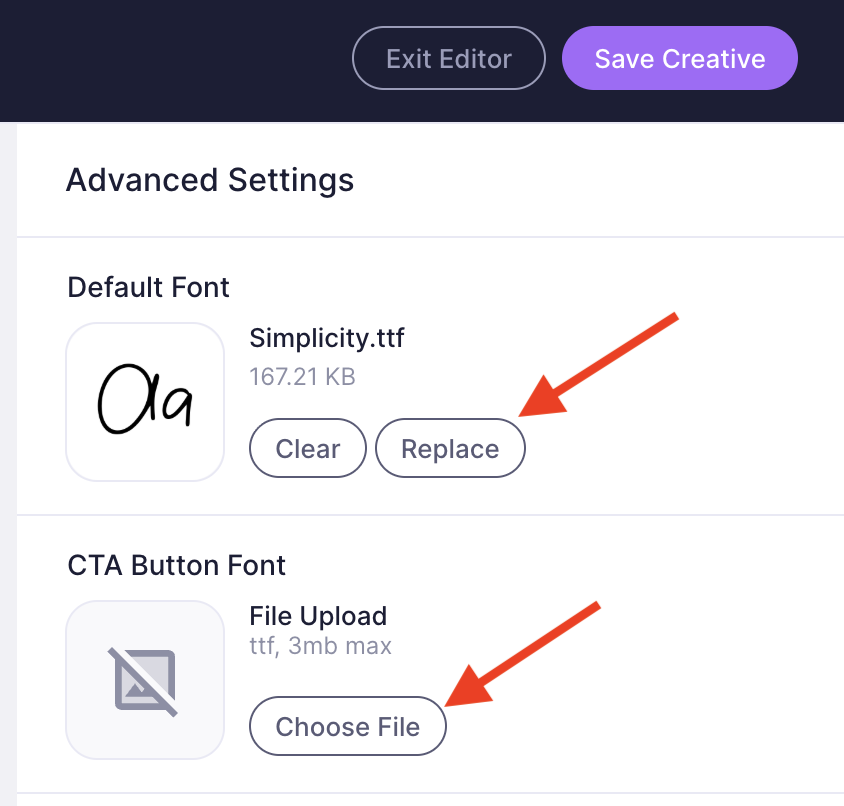
When uploading a media from a playable, the user should select asset field and click on Choose file or Replace buttons.
To begin uploading simply drag an image, video or audio file into into the upload window. You can alternatively click within the upload window to open your file explorer and select a file that way. (Note: if when using the file explorer method your assets are not showing up, you may need to change the shown file types from 'Image Files' to 'All Files', this option is located just above the open & cancel buttons on windows)
Multiple upload
The Media Library supports uploading several files at once. When the upload dialog is open (via the + Add Media button), you can select multiple files from your file explorer or drag and drop a group of files into the upload window simultaneously.
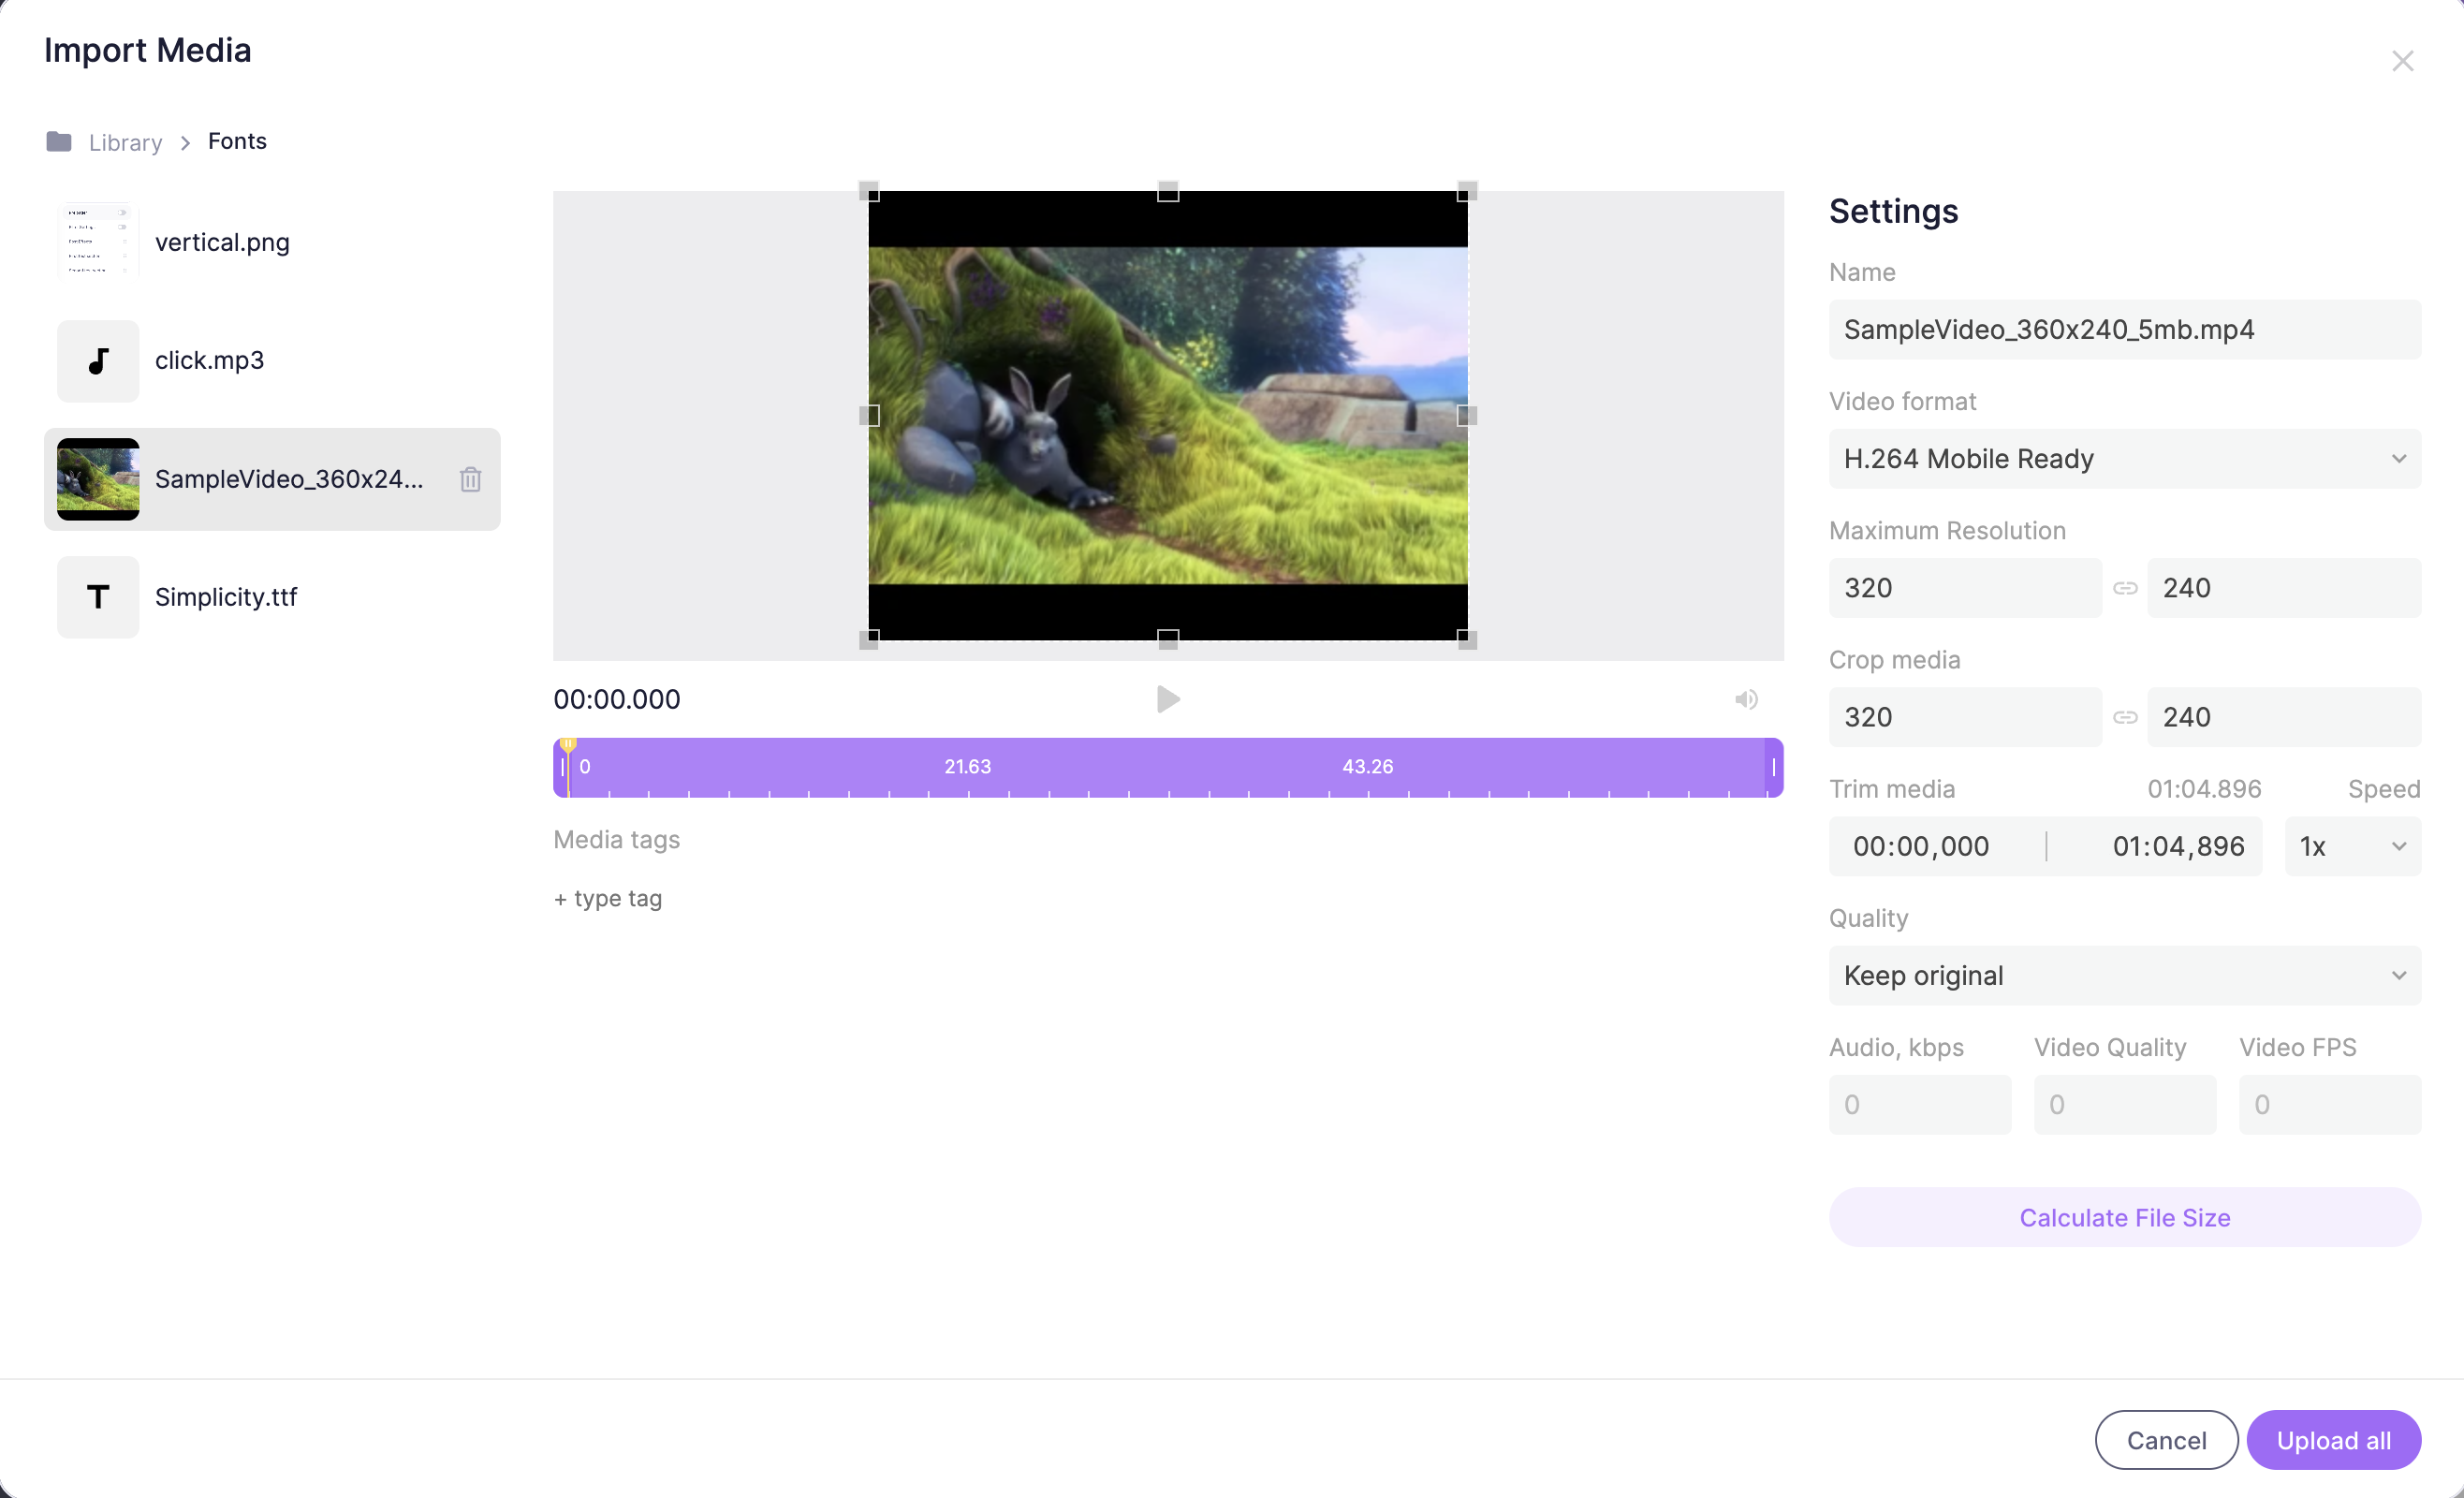
When more than one file is queued, the dialog expands to show a file queue sidebar on the left. Each file appears with a small preview thumbnail and its filename. From here you can:
- Click any file in the sidebar to switch focus and configure its individual settings (name, crop, format, quality, etc.)
- Remove a specific file from the queue using the trash icon next to it
Once all files are configured, click Upload all (replaces the single Upload button when multiple files are queued) to submit the entire batch.
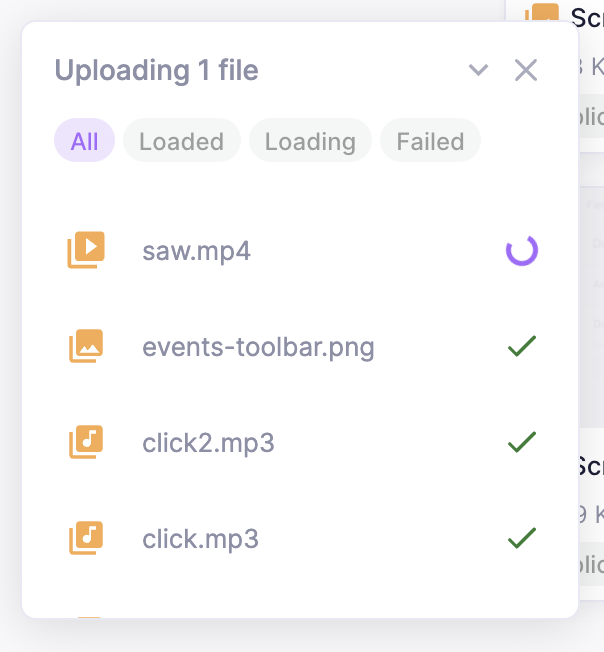
A floating upload status panel will then appear at the bottom of the Media Library page tracking per-file progress. You can filter the list by status (All, In Progress, Complete, Failed), collapse it to a compact summary bar, or dismiss it once all uploads finish.
Upload Media Options
Universal options
- Name: This will be what your asset will be labelled as in your library (it does not need to include the file extension)
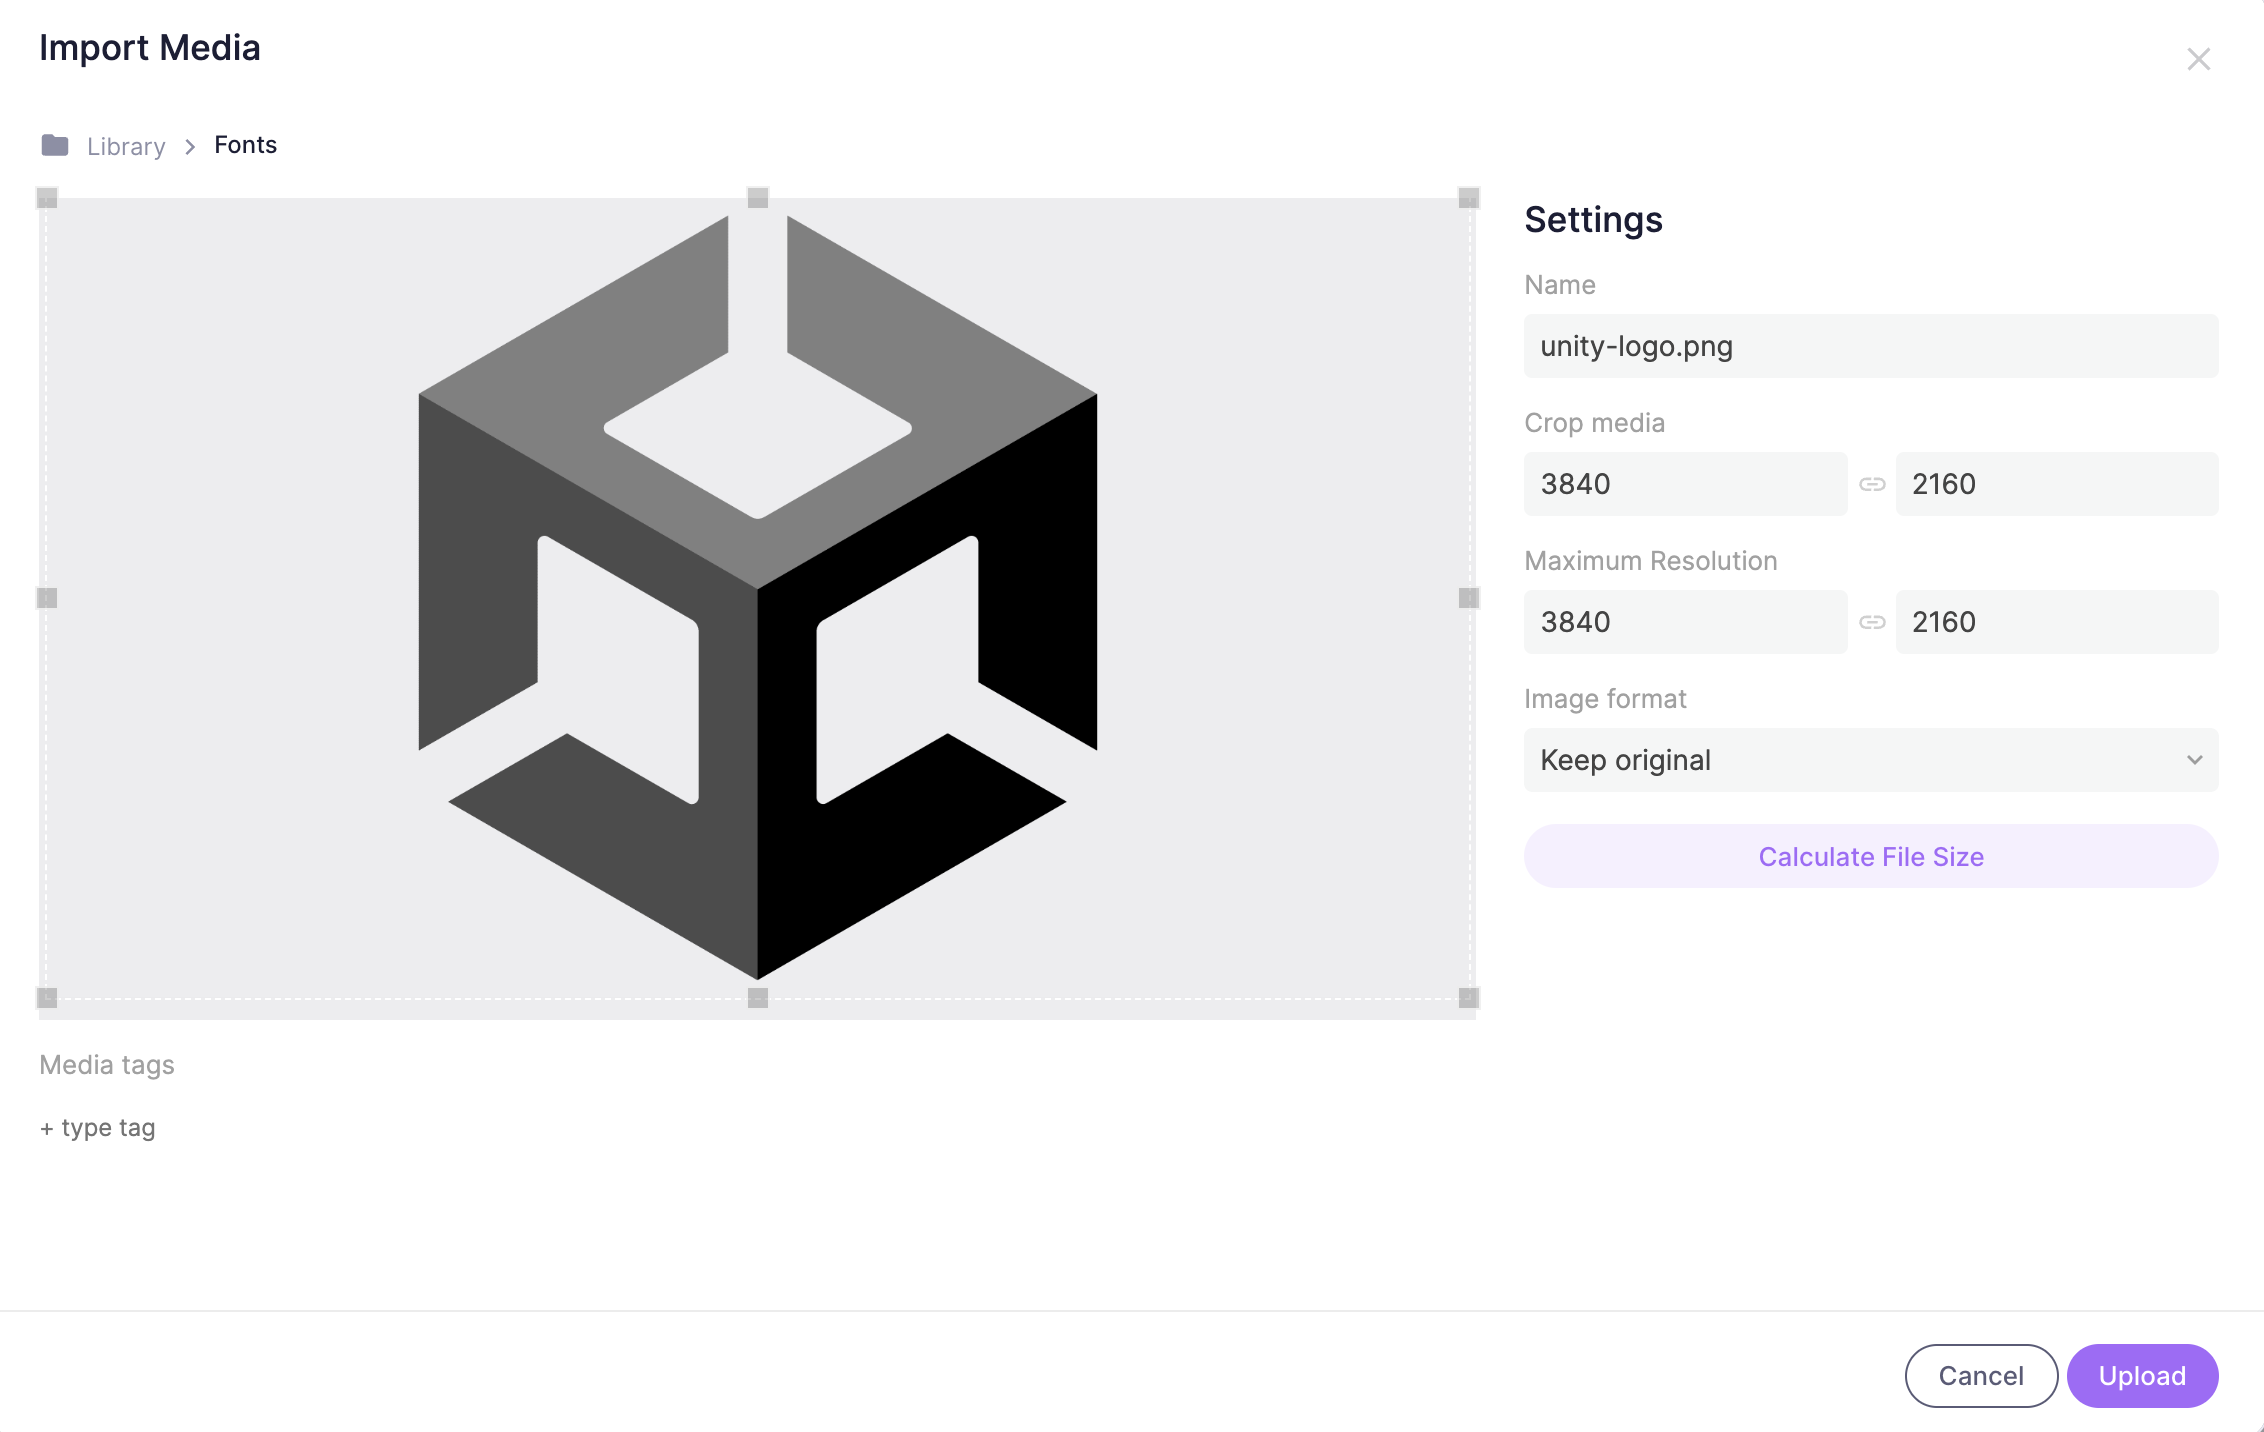
Image Upload options
- Crop media: Changing these values will begin cropping the image (You can also crop by dragging the dotted outlines)
- Maximum Resolution: This sets the upper limit for image resolution
- Image format: Choose between keeping the original format, JPEG (Medium Quality), PNG (Lossless), PNG (Lossless, Optimized) & PNG (Lossy, Optimized)
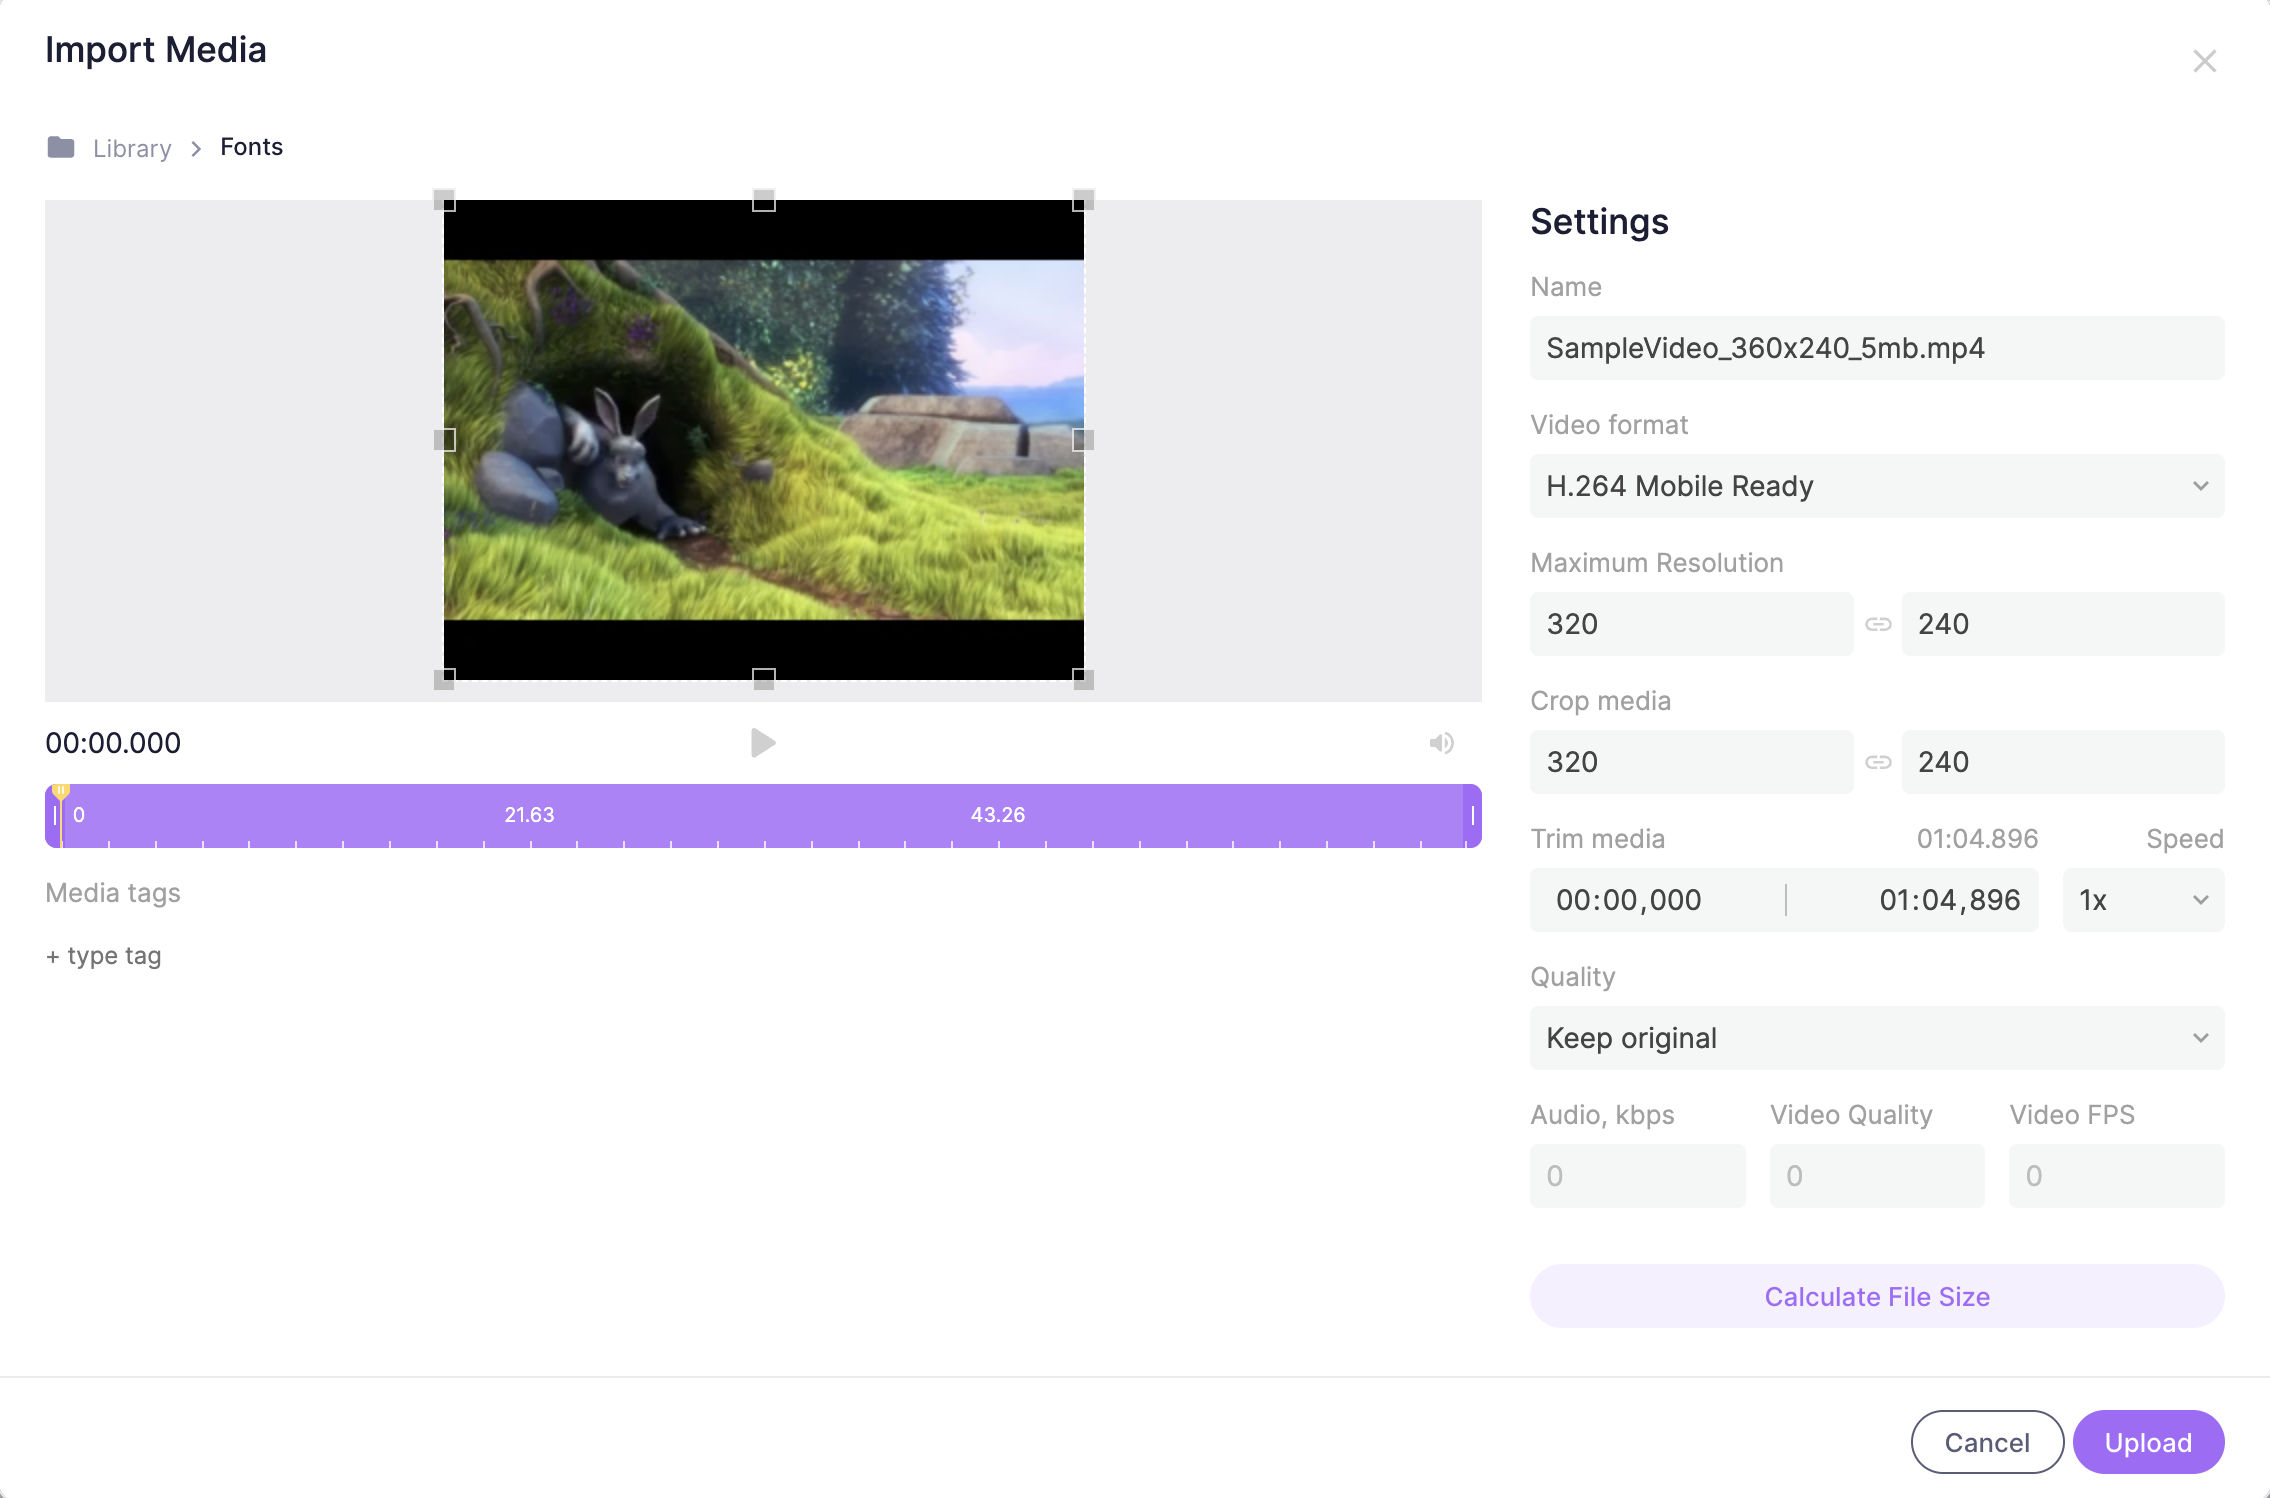
Video Upload options
- Crop media: Changing these values will begin cropping the video dimensions (You can also crop by dragging the dotted outlines)
- Maximum Resolution: This sets the upper limit for video resolution
- Trim media: Set the desired start and end point of the video
- Speed: Set the playback speed of the video (0.5x, 1x, 1.5x, 2x)
- Video format: Choose between keeping the original format, H.264 Mobile Ready, Optimised for Templates & Convert to Animated PNG
- Quality: Choose a quality preset (Keep original, Low Quality, Medium Quality, High Quality) or select Custom Quality to set individual parameters:
- Audio, kbps: Set the audio bit rate in kilobits per second
- Video Quality: Set the constant rate factor
- Video FPS: Set the frames per second value
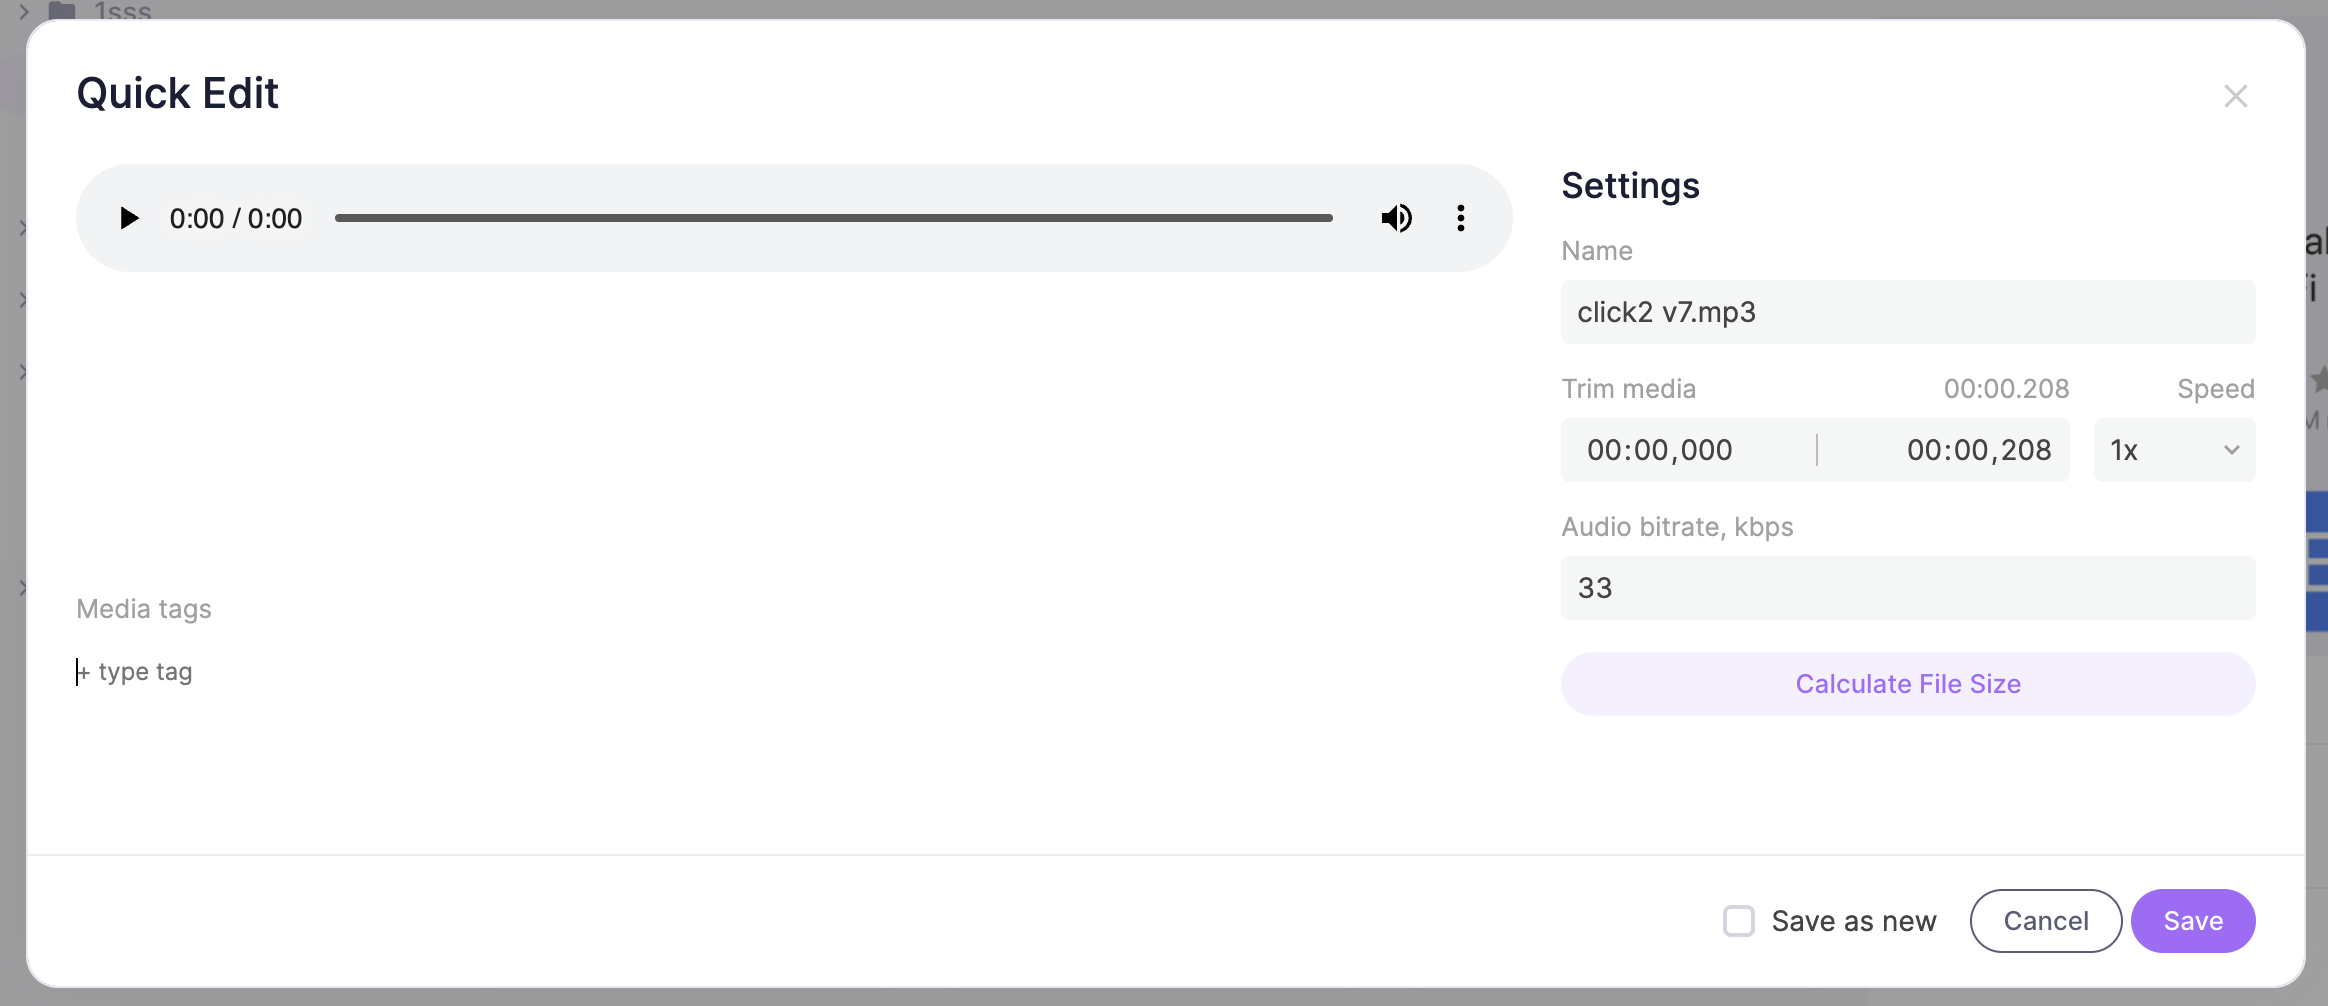
Audio Upload options
- Trim media: Set the desired start and end point of the audio
- Speed: Set the playback speed of the audio (0.5x, 1x, 1.5x, 2x)
- Audio bitrate, kbps: Set the audio bit rate in kilobits per second
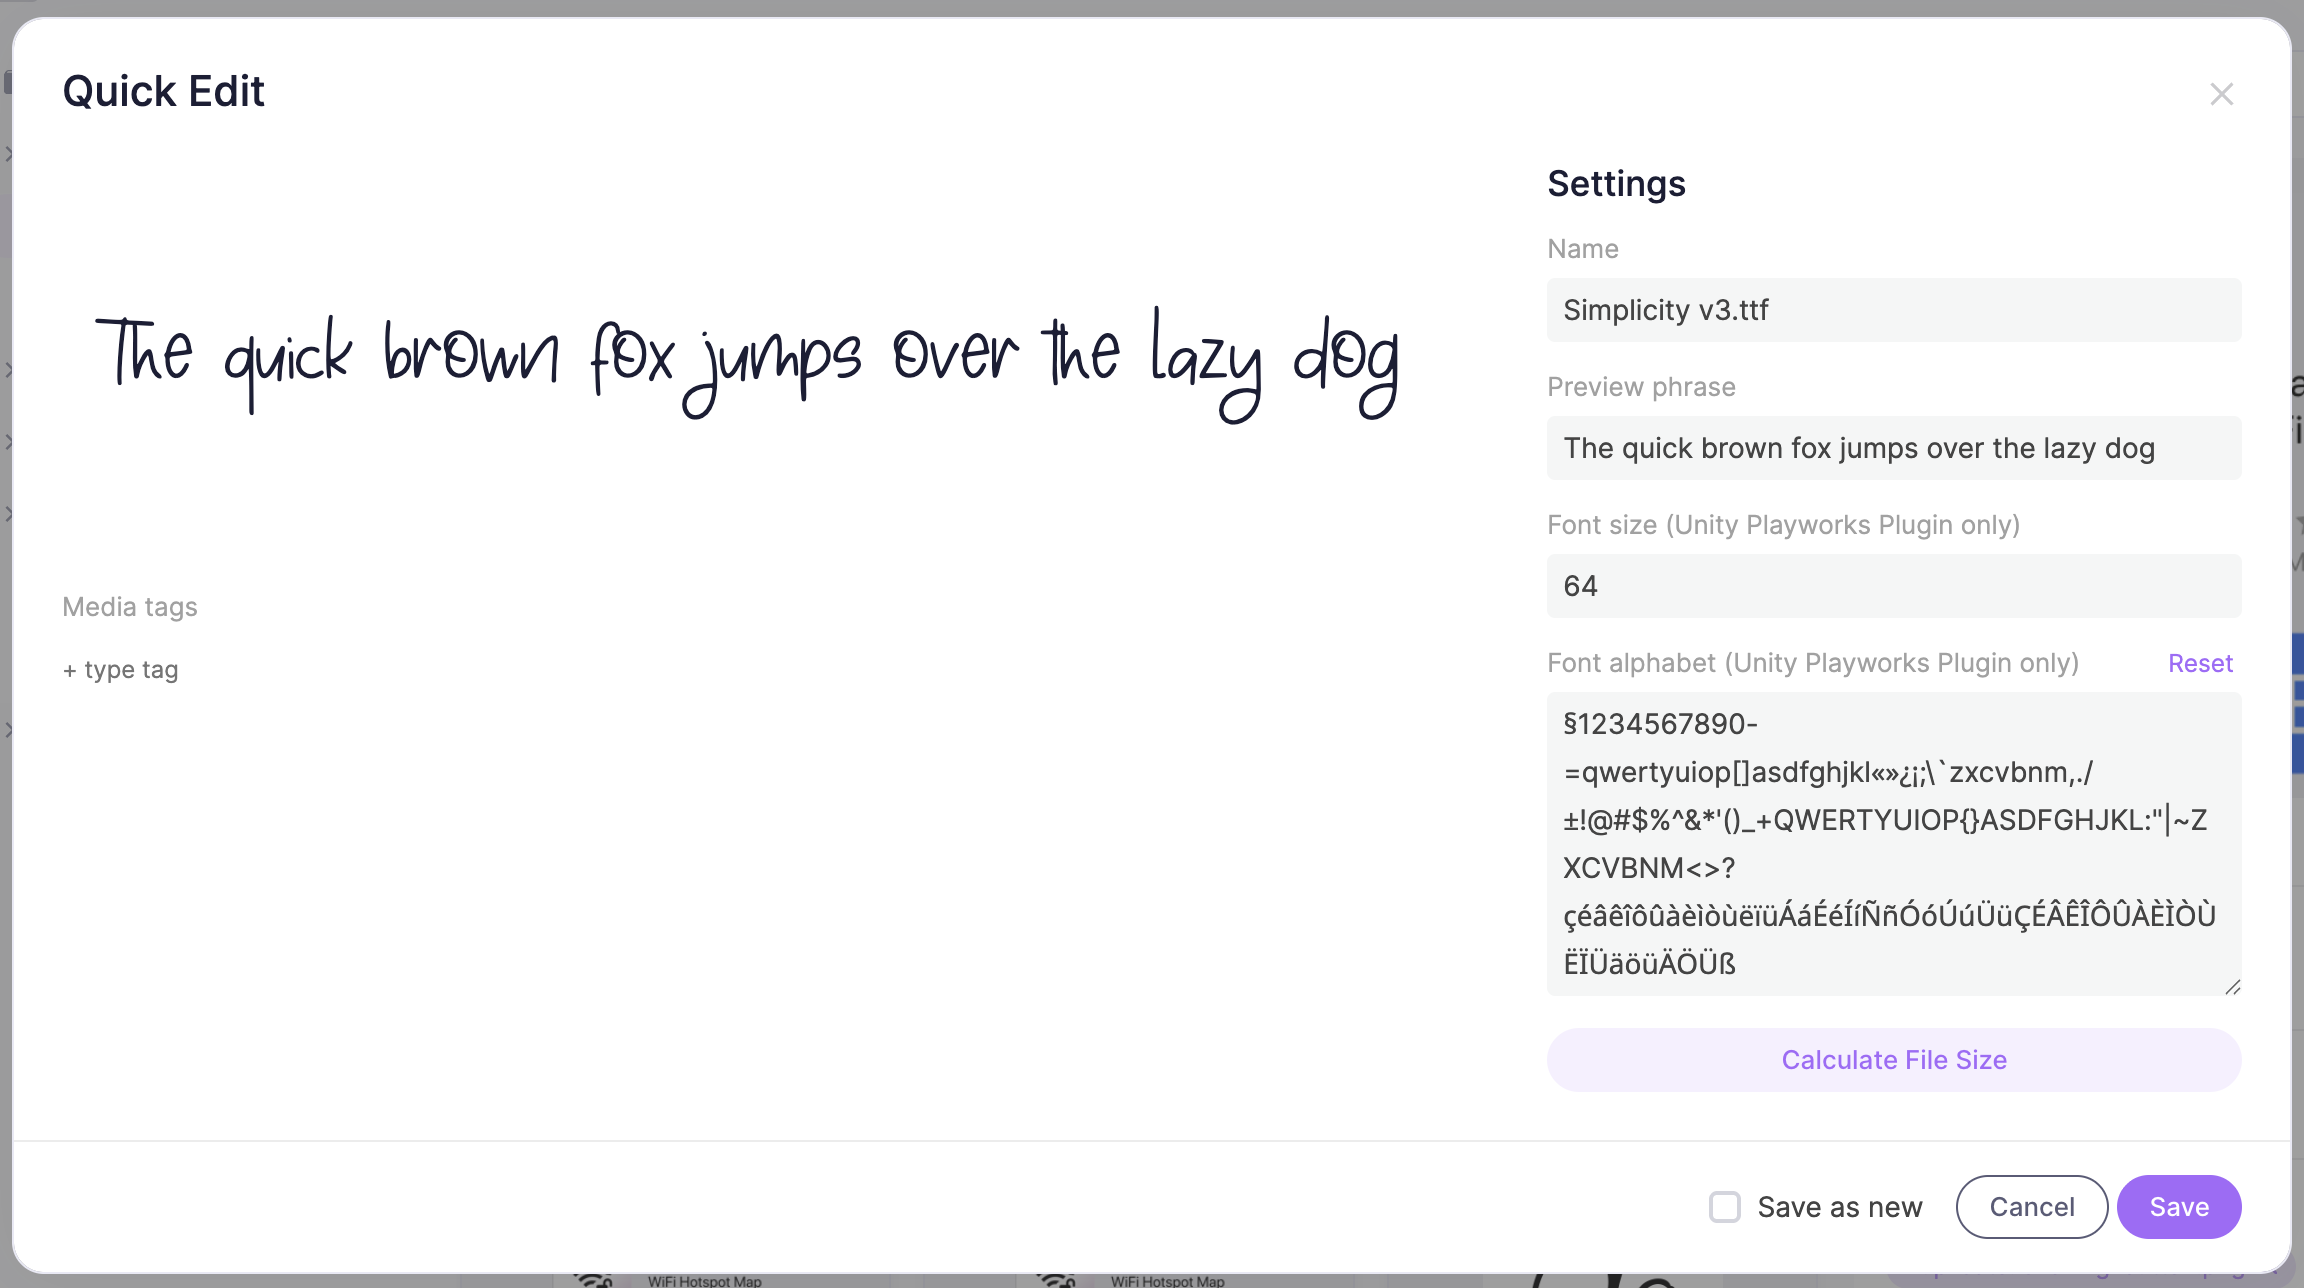
Font Upload options:
- Preview Phrase: Set a phrase to preview your font
- Font Size (Playworks Plugin only): Bigger sizes allow for crispier fonts, but it uses space when the playable is built
- Font alphabet (Playworks Plugin only): Control which character can be included (remove those character that are not going to be used in the playable)